Hey all,
My school year is winding down and I am sad to say goodbye to my school and RA friends. When I was in high school, I would sometimes write letters to my friends at the end of the year, and I decided to do that this year as well, since I’ll be abroad for all of my junior year.
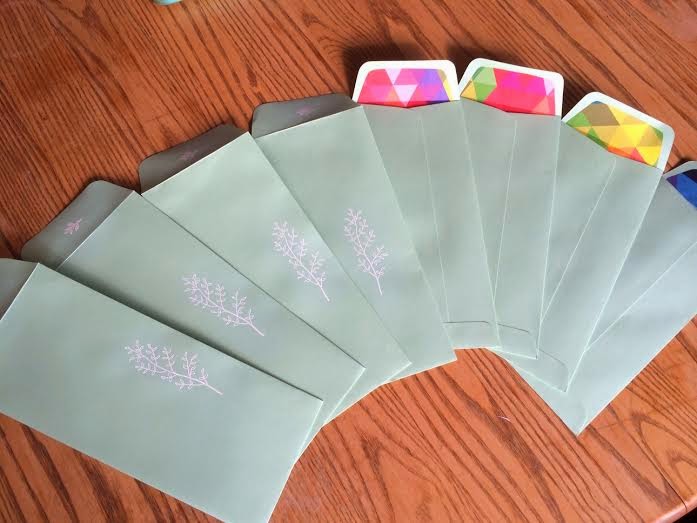
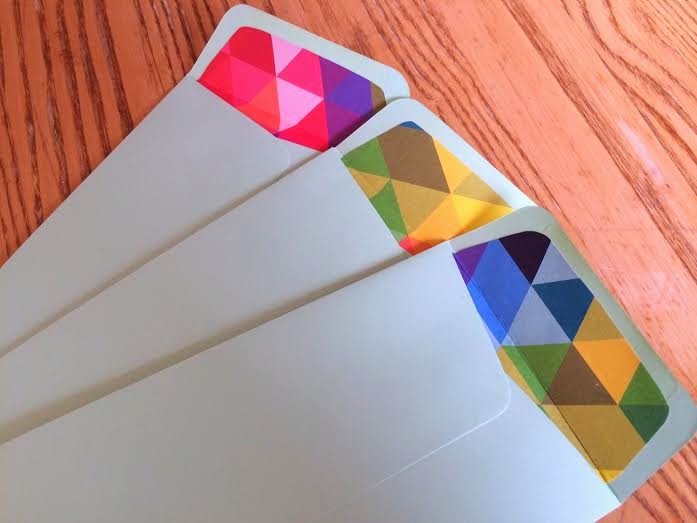
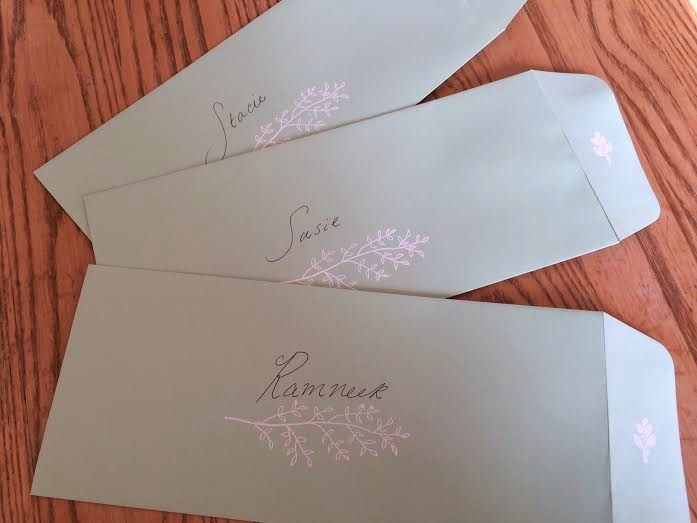
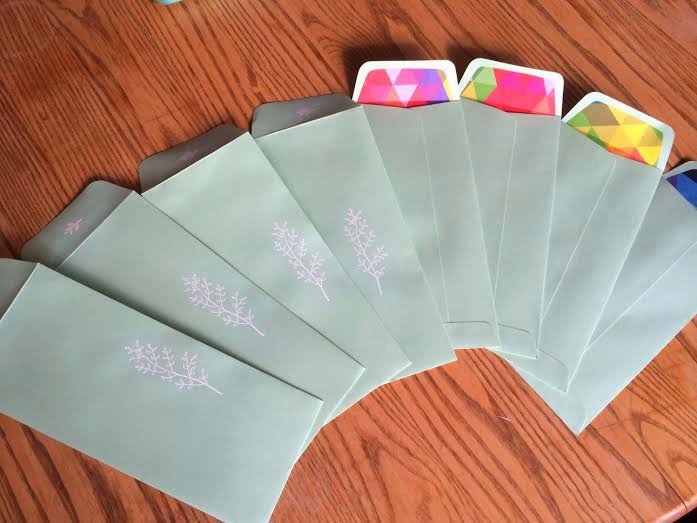
Rather than just printing out the letters and putting them in plain envelopes, I thought it might be fun to create special envelopes with little details that will make the letters for of a keep-sake. Here’s the finished product:
And here’s the tutorial. In essence, these are just envelopes with a few special details, so I’m going to show you the two techniques I used and I hope that you can use the skills to decorate your own items or envelopes how ever you like.
What I used:
Envelopes ($): Set of 10 sea foam green envelopes with side opening; Paper Source, $6
For colored insides ($):
- Colorful wrapping paper (Paper Source, $2.25)
- Scissors for cutting
- Pencil for tracing
- Glue stick for (surprise!) gluing
For heat embossing ($$$):
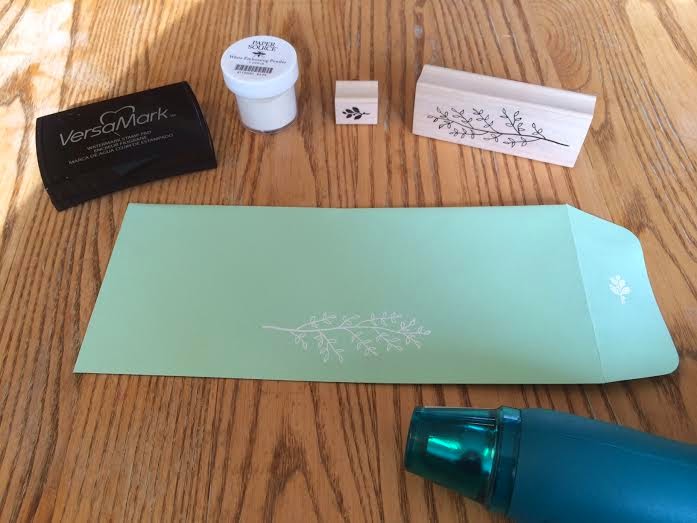
- Stamps of your choice (prices vary).
- Heat embossing powder in the color of your choice (a jar runs $4-6.50, and can be used many, many times over; I have a red jar that I use for name tags, Kabloem box embossing, and projects like this, and after 10 months I have only used up about 25% of the jar).
- A watermark stamp pad ($6).
- An embossing heating tool. I’m conflicted about these; the are quite expensive (about $28) and I feel that there must be a cheaper alternative. A blow drier won’t work, because the rush of air would disperse the embossing powder and destroy the design, but I wonder if using a gas match lighter (one of those hand-held lighters with a long nose that people use for lighting stoves, candles, fireplaces, etc) and hovering it about the powder would do the trick. I haven’t tried this, but I will do so and get back to you.
Colored insides
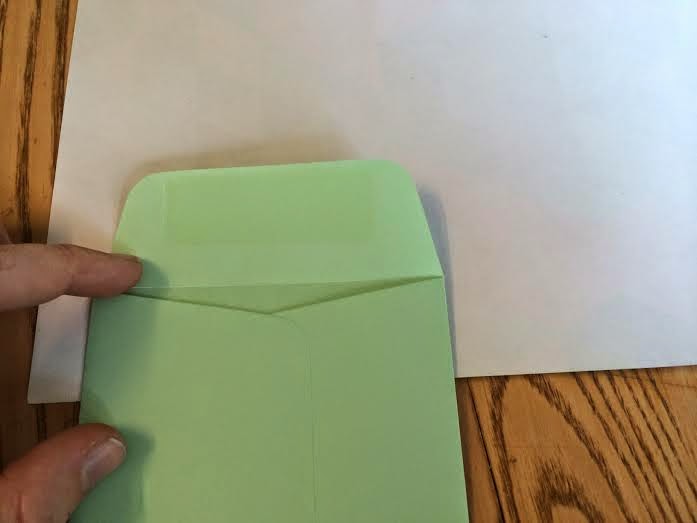
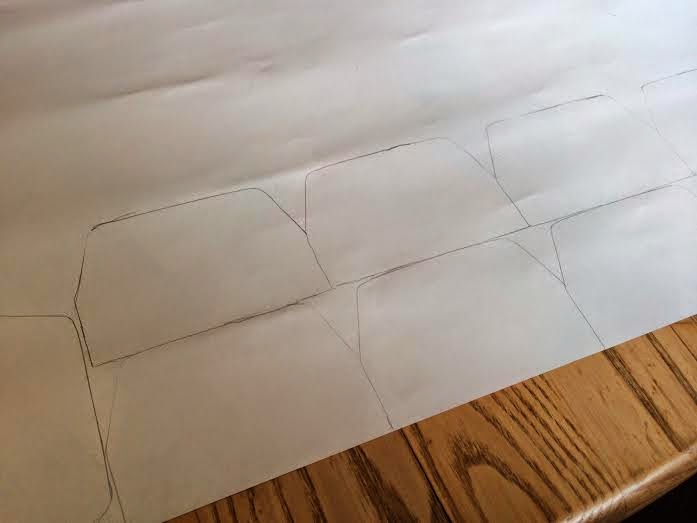
Trace the outline of the envelope on the reverse side of the wrapping paper, so you can see the pencil line clearly. For side-flap envelopes, trace only the clap and about an inch or so down; the recipient will only see the inside flap and a little inwards. For standard mailing envelopes (with a top flap), trace the whole shape of the open envelope, as the recipient will see the whole inside of the envelope.
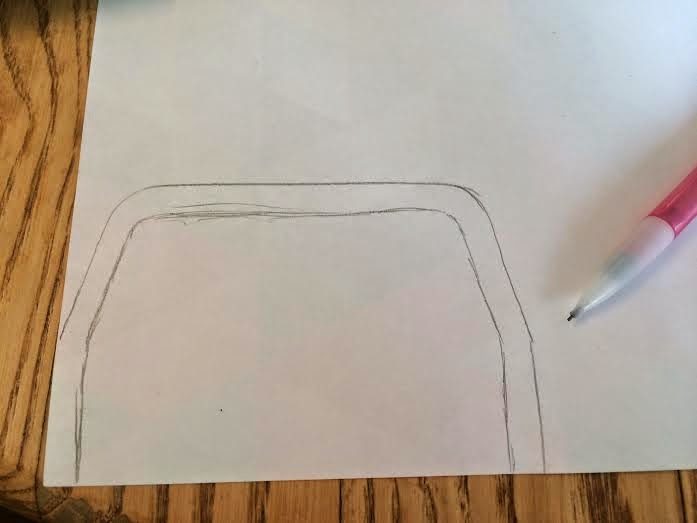
Remove the envelope from the paper and sketch about a half centimeter inwards of the traced line (if you want more of the envelope to show, do a centimeter or more).
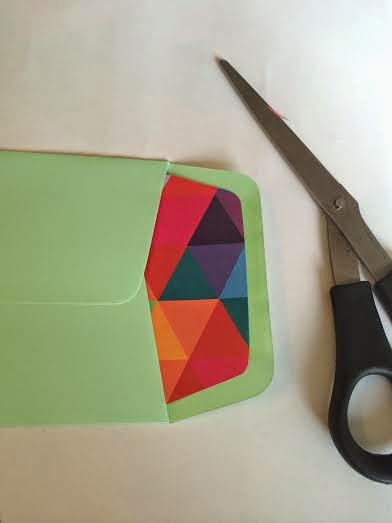
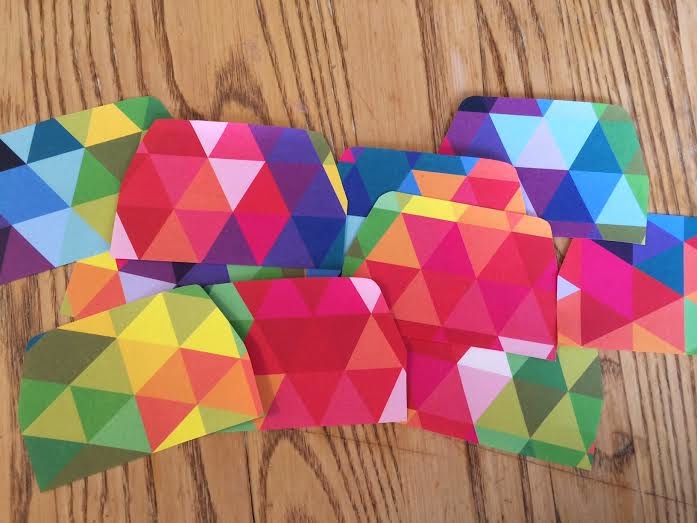
Cut out your insert. Slip it into the envelope to see how it looks and adjust as needed.
Trace your insert for as many envelope flaps as you need (I needed a total of ten).
Cut them out.
Run a glue stick over the white (back) side of the inserts, slip them into your envelopes, and press down across the whole thing for a few seconds so it sticks. Fold the flap of the envelope down so that the insert is also folded in the appropriate place.
Heat embossing details
I didn’t take many pictures of this process, because it is easier to explain in video. Nevertheless, I will do my best to explain it in writing, and link a video below so you can see how it works in action.
Take the stamp you are using and press it into the VersaMark (watermark) pad. Don’t use traditional colored ink, as this dries quickly and will not be sticky enough to hold the embossing powder for later.
Press your stamp onto the area of paper you want to emboss; in this case, for me, the bottom front of the envelope, and a small detail on the flap. The ink is “invisible,” but you will see a fresh, wet mark in the shape of your stamp where you pressed it down.
Place your envelope over a sheet of paper. The paper will catch excess embossing powder. Pour your embossing powder over the areas you want to heat emboss; there should be lots of excess, as you want to reach every corner of the design. pick up your area and tap it on the paper so the excess falls away. Blow or rub away any extra little areas. The powder will cling to your design. You can fold the paper with the excess powder and funnel it back into your powder jar.
Next, turn the heating tool on and hover it over the powder. After about ten seconds, the powder will melt and become smooth and shiny. Run the heating tool over the entire stamped area to melt the whole design into place (when I say melt, I want to clarify that this won’t get messy; the design will stay perfectly in place and will have clean edges). The embossed area will be cool to touch and will not wear away over time. It should be a perfect impression of your stamp!
Here is a good video showing you the technique, for visual learners like me. She uses an anti-cling pad to wipe down the paper first; I don’t have one, and I don’t think it’s necessary unless you are a serious perfectionist.
And voila! The finished product!


