
Hey all!
My partner’s birthday was last month and he had been hinting about wanting a terrarium for a while. Problem is, he lives 3,000 miles and an entire ocean from where I do, so if I were to send him a terrarium, it would have to be held in place somehow. After asking if it was important that the terrarium was, you know, alive, he said that he mostly wanted one for the aesthetic, and I got to work.
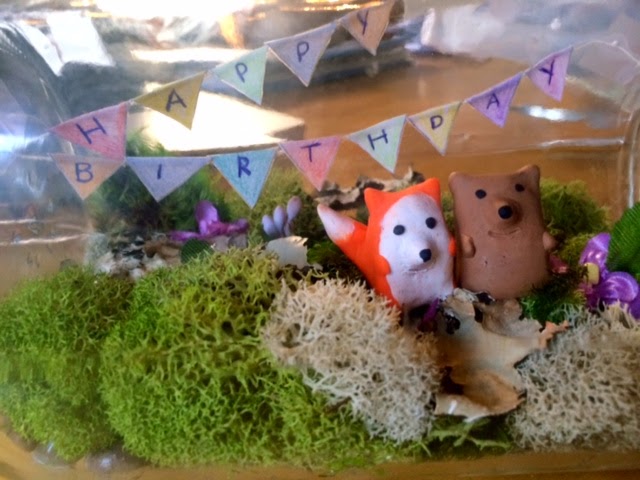
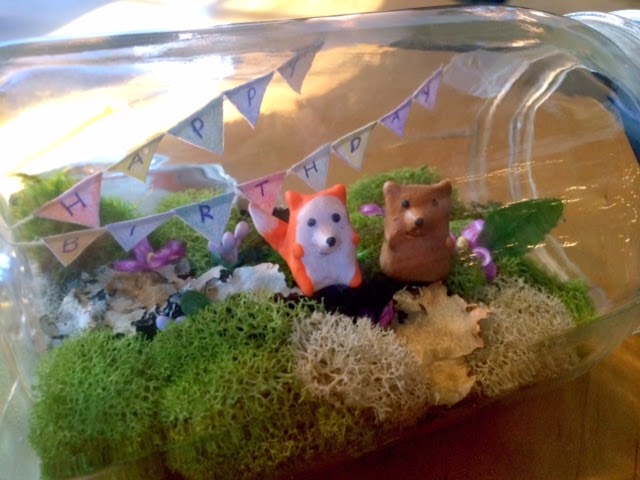
Here’s the finished product:

I bought all the supplies at Michaels and the full cost was around $15-20.
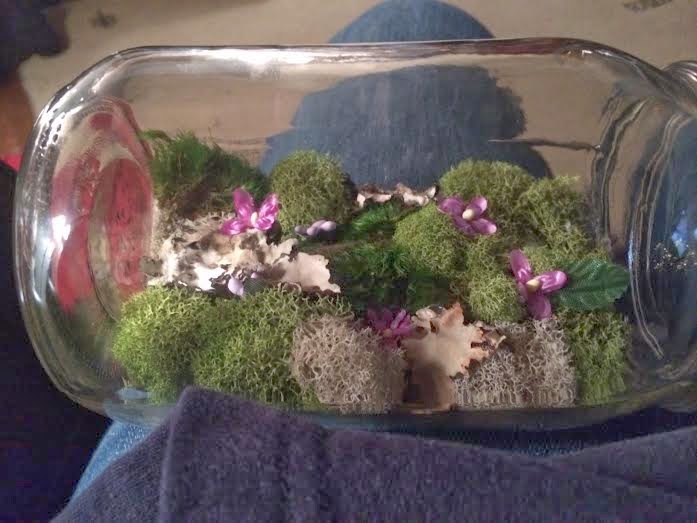
The first thing I bought was a large Mason jar from the Ball brand, which cost about $1.50. I also bought a bag of smooth pebbles for a few dollars. The jar was slightly square in shape so it could rest comfortably on one side. I coated the bottom of the jar (i.e. one of the four sides) in glue, then poured in a handful of pebbles and pressed them down. After about twenty minutes, I shook the jar to find any loose pebbles and glued those down individually.
I also bought a bag of dried moss from the Martha Steward brand, which cost $6-8. The bag included a variety of moss types that included some sort of preservative that will prevent drying out and dying in the terrarium. I pulled out small patches of different kinds of moss and glued them down over the rocks. I also bought a tiny bunch of purple silk flowers for $2 and added them as well.
Next I crafted the two small clay creatures out of four packages of Sculpey clay in orange, brown, black, and white (I believe $1 each, on sale). They took me a while to round out to the shape that I wanted, but I was ultimately quite happy with them. I poked a hole into the bottoms of each so that I could glue in a piece of paper clip later that would help them stay put in the terrarium. The bear took longer to bake due to being from a different Sculpey line, but they were both done baking within 20 minutes.
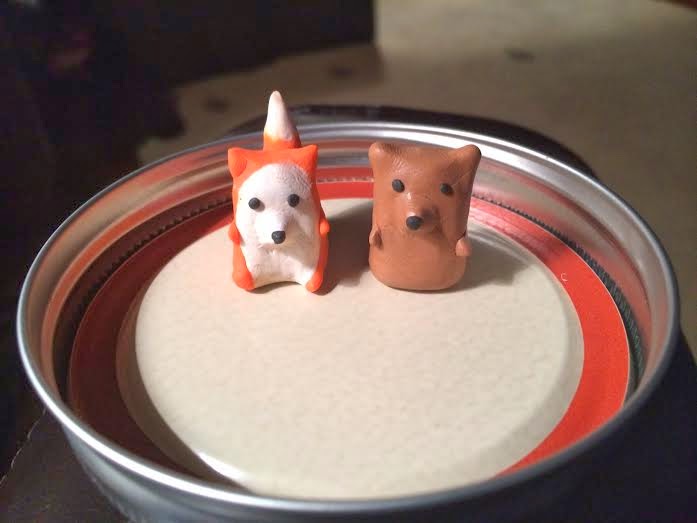
I cut two small sections off of a coated paper clip and glued them into the creatures. I then covered the stick and the bottom of the animals in glue and pressed them down into the moss area that I wanted.
The most difficult step was adding the Happy Birthday banner. I made a small triangle cut-out to trace, then used a simple sheet of printer paper to trace and color in the letters. I flipped down the top part of each letter over a string, then taped it down. I ended up choosing to make two strings of letters for reasons of space, then took one piece of tape and attached the left end of both strings to it. It was difficult to tape to the glass, but using a pencil to reach and push the tape down helped. I did the same for the second side, then left the jar open and let it dry for a few days.

Totally stable and ready to ship! Luckily, my partner loved it. (:
Till next time,
Sara