C

Craft: Valentine’s Package for a Flat-Rate USPS Box

Hey all!

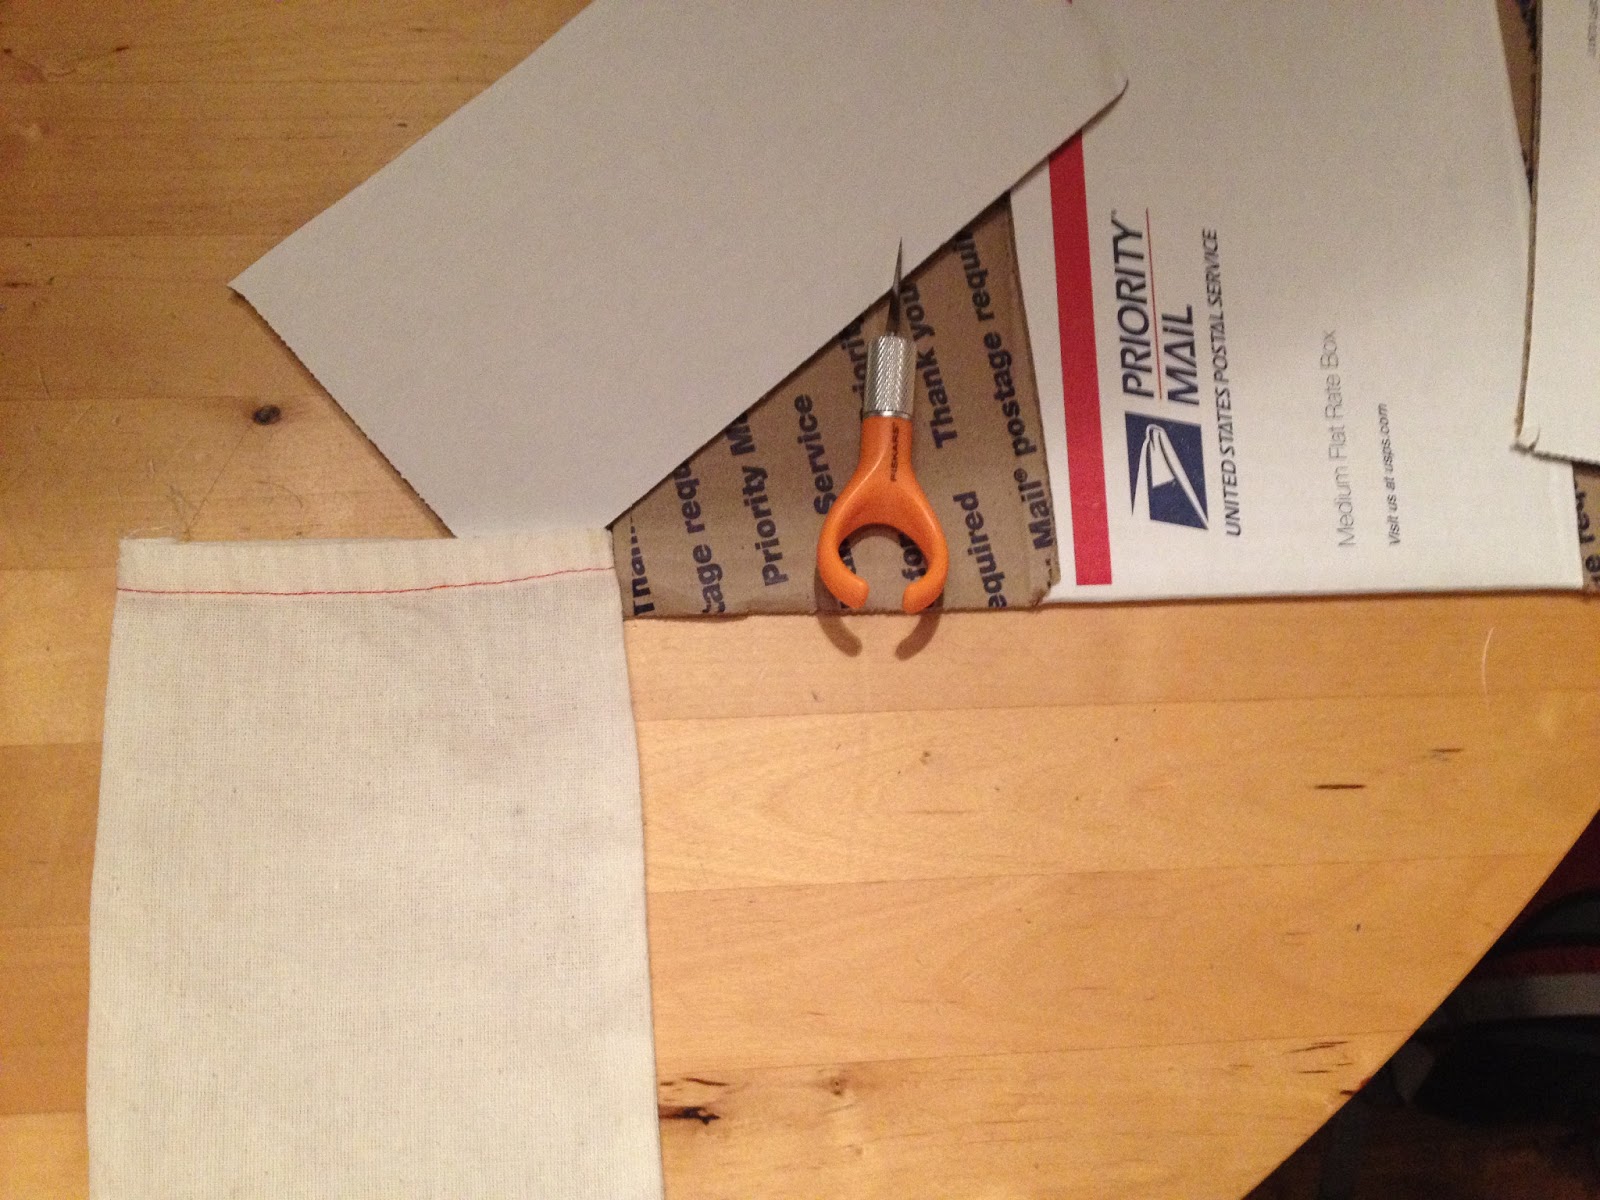
I’m at home from college during my winter break, and wanted to put together my Valentine’s package before going back to school, since most of my craft supplies are here. As some of you may know, international shipping is wildly expensive, so in an attempt not to go bankrupt, I managed to fit all my gifts in the smallest USPS flat rate shipping box, the international shipping rate of which is $16.75 (still expensive, but considerably less than the next box up, which is $49.75, or FedEx, which is an unbelievable $116.75).

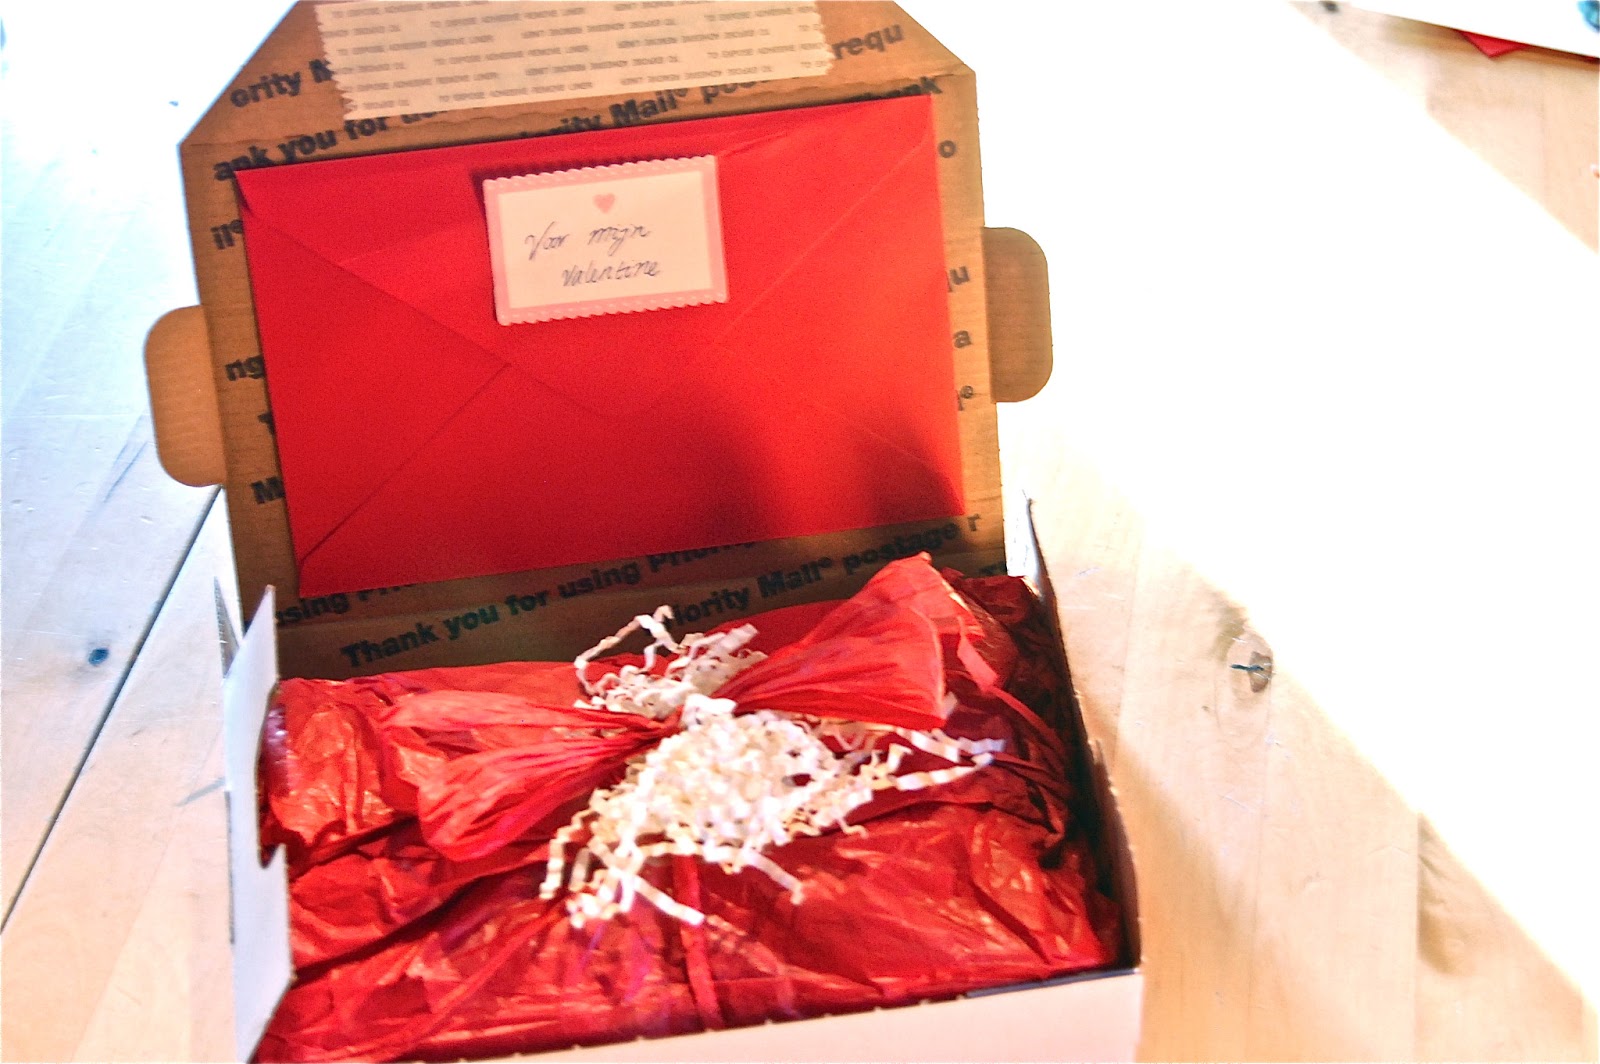
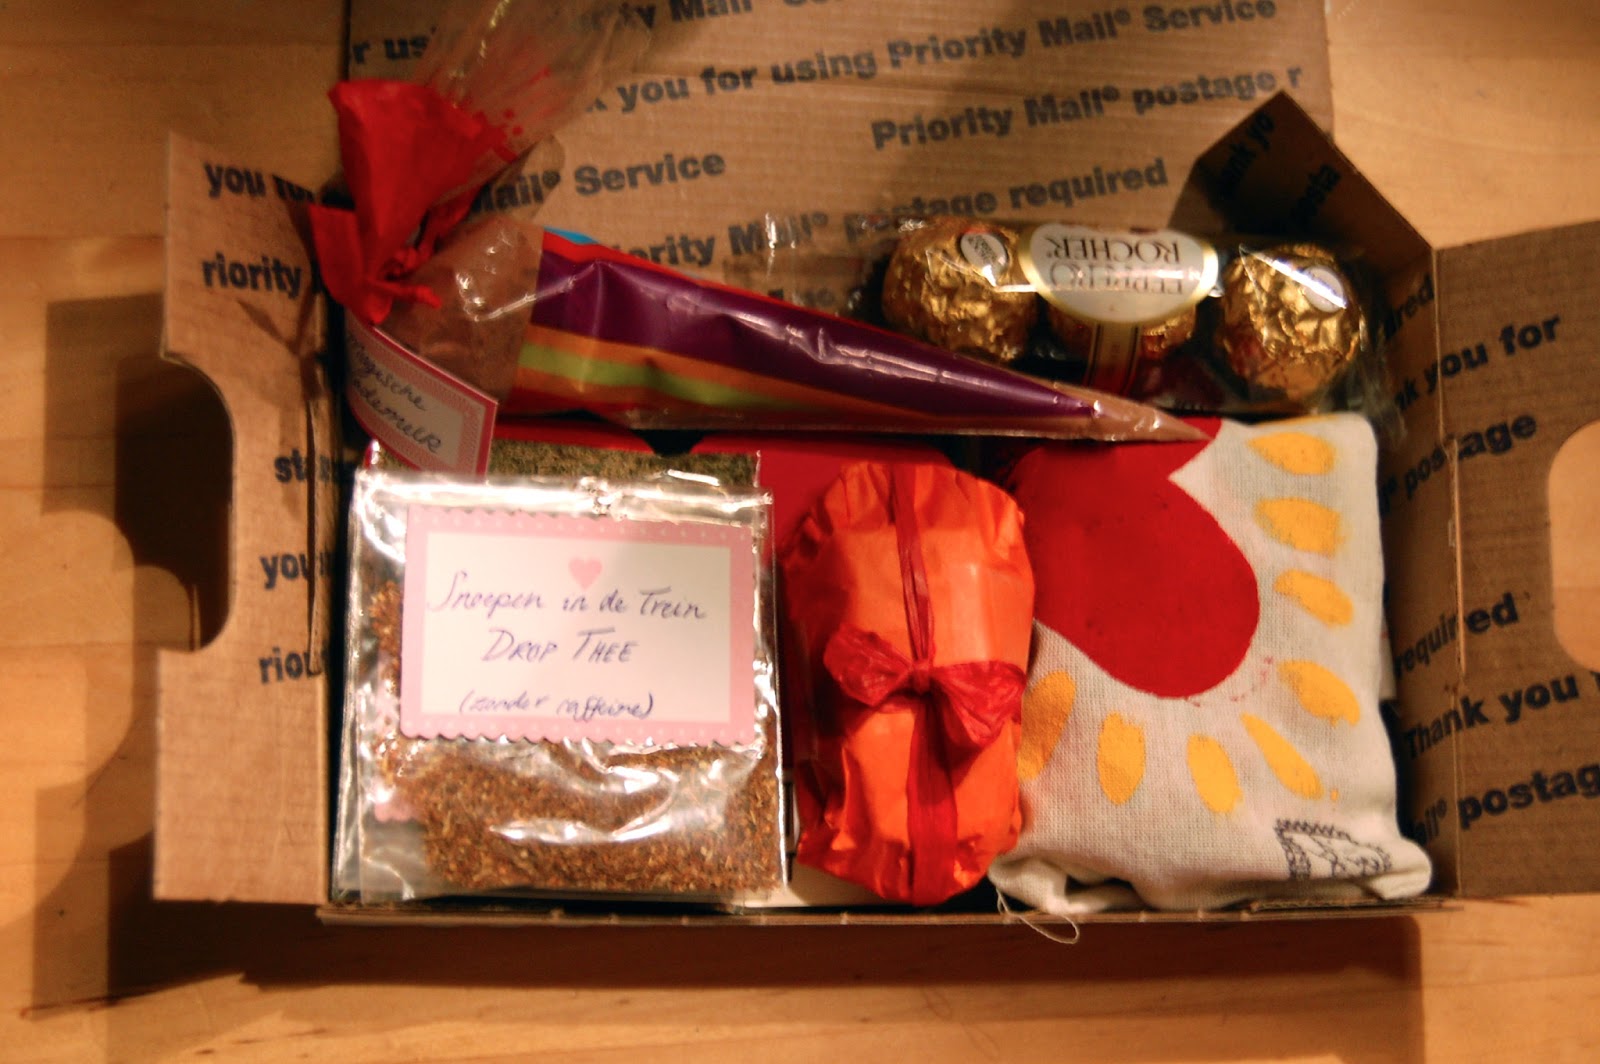
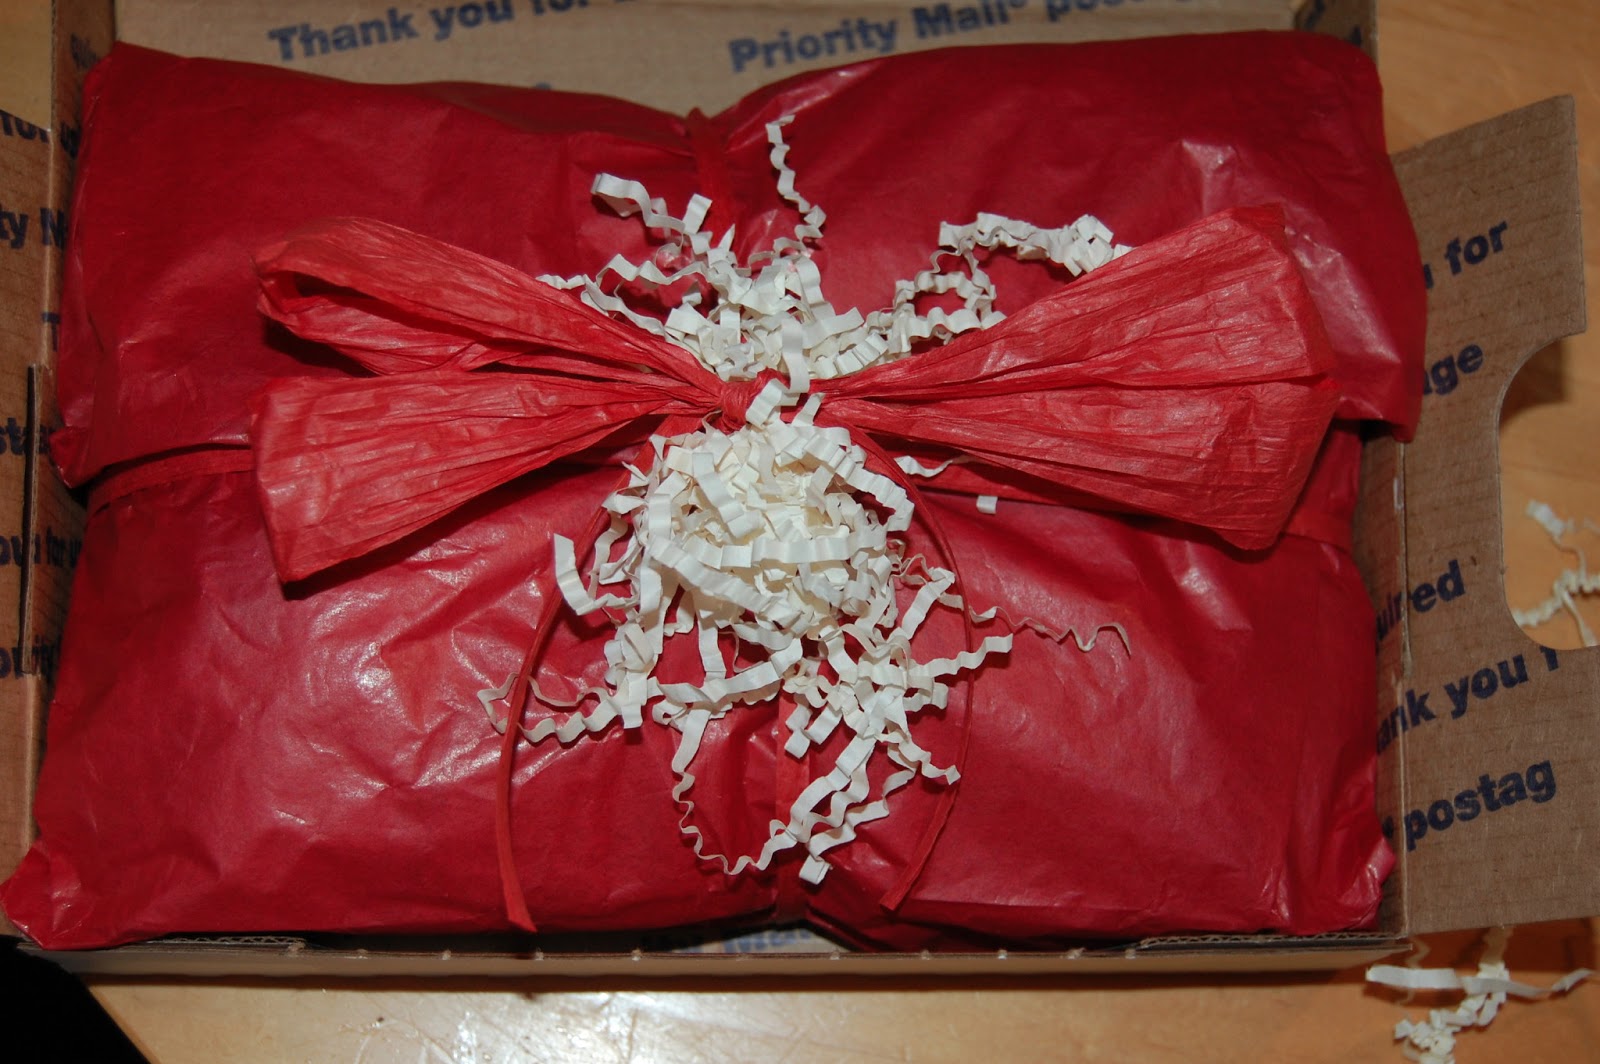
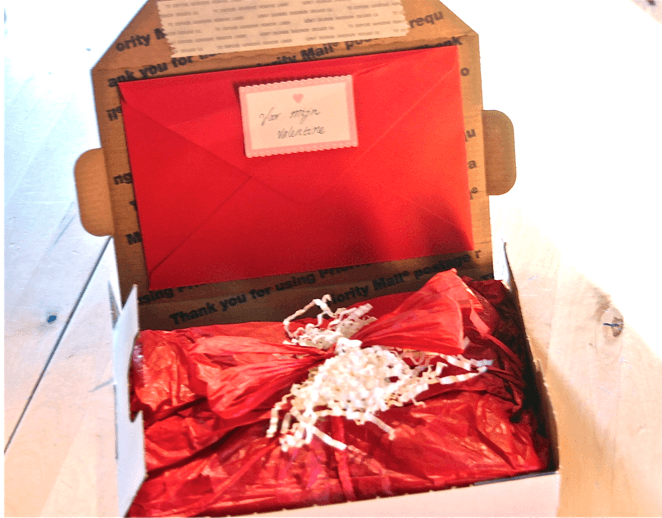
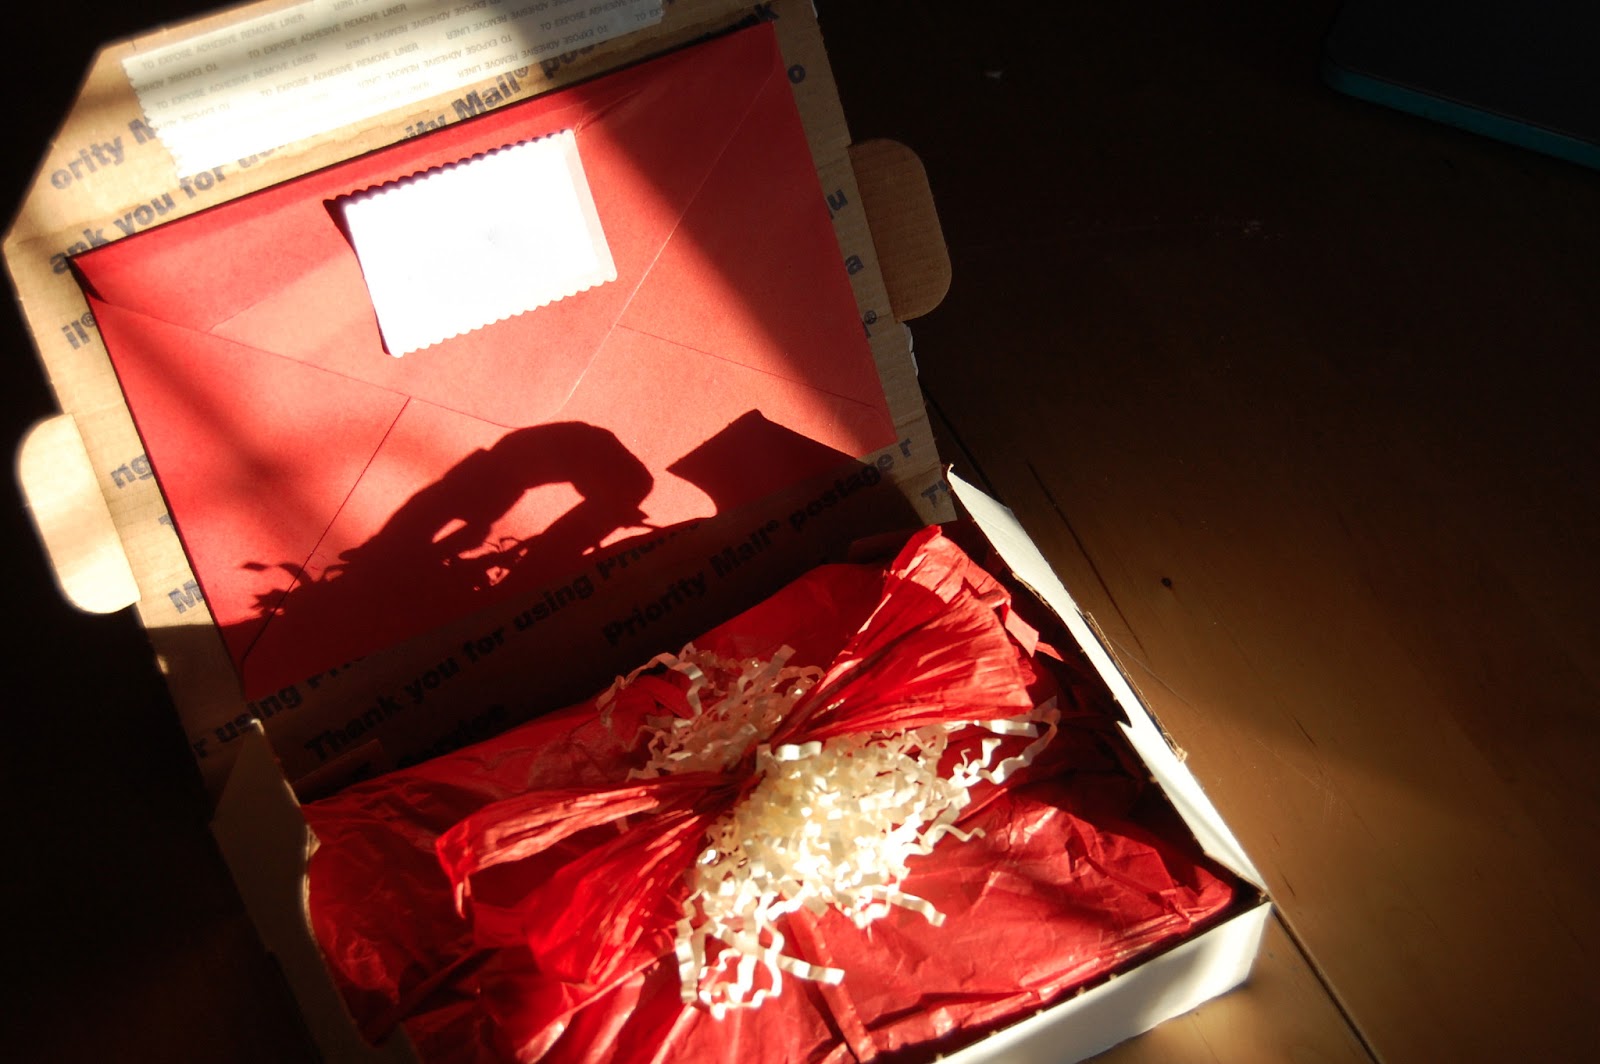
Here’s the finished product:

My Specific Person is to be left unawares, so if you know him, do me a favor and don’t give any spoilers!

The package contains:

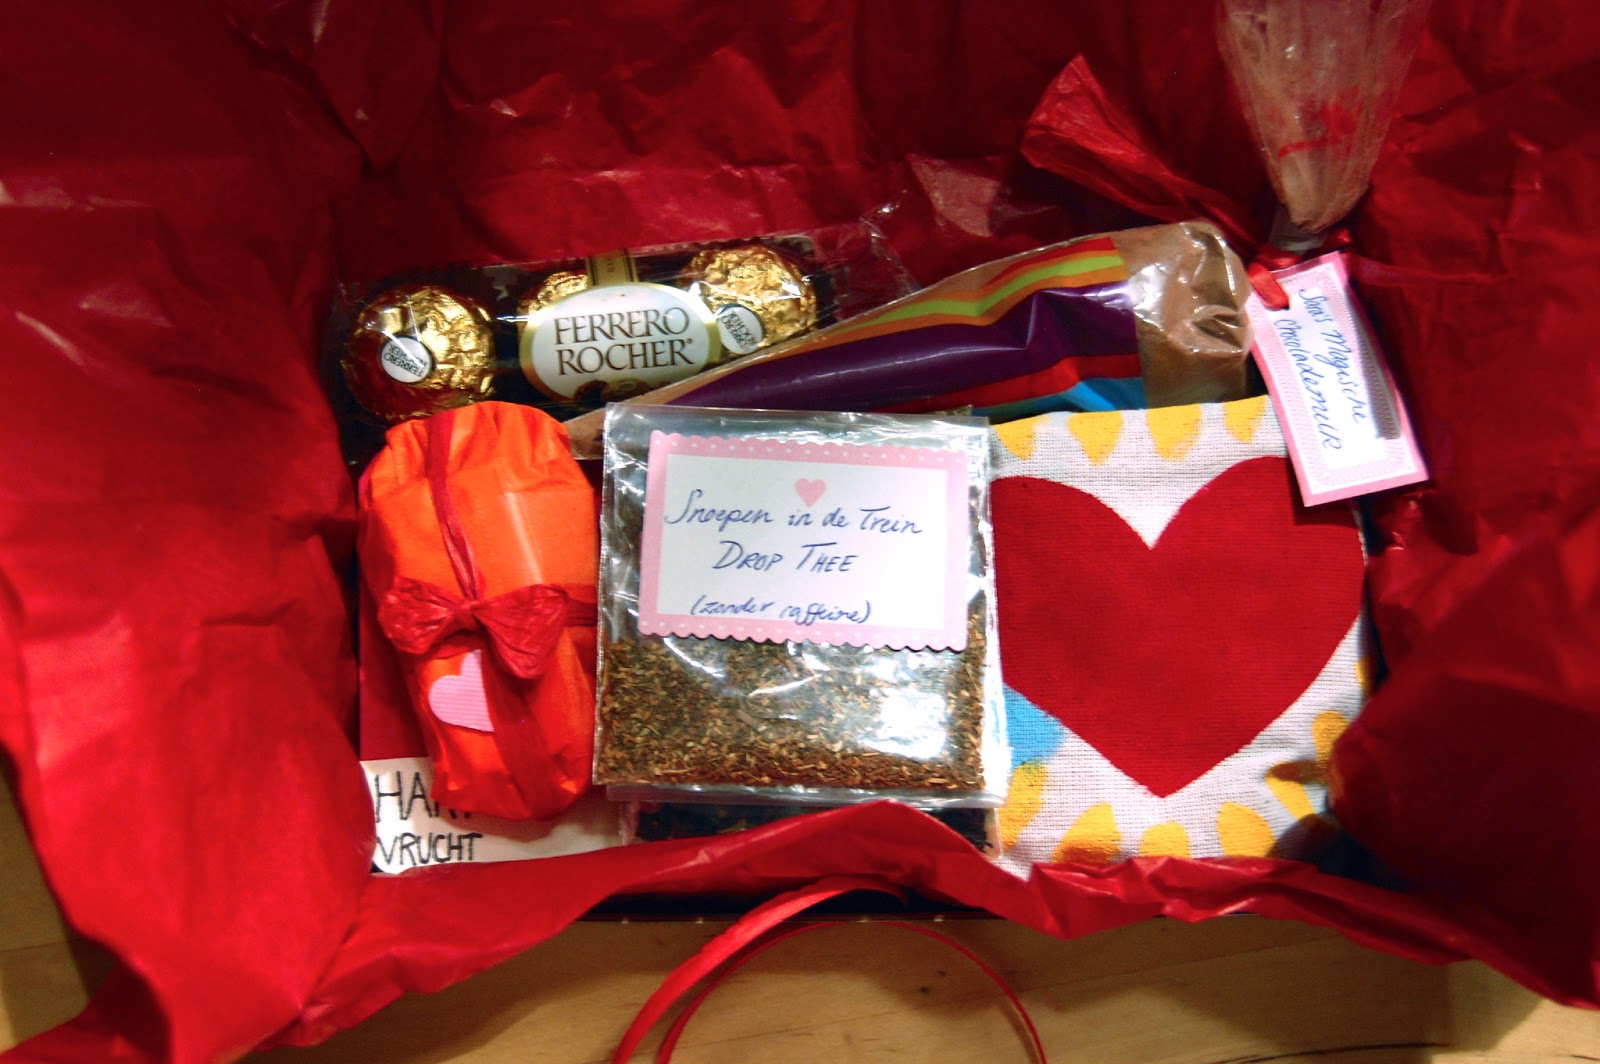
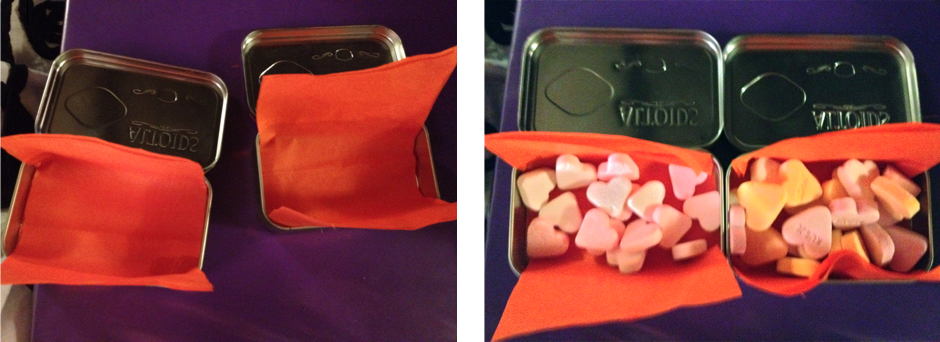
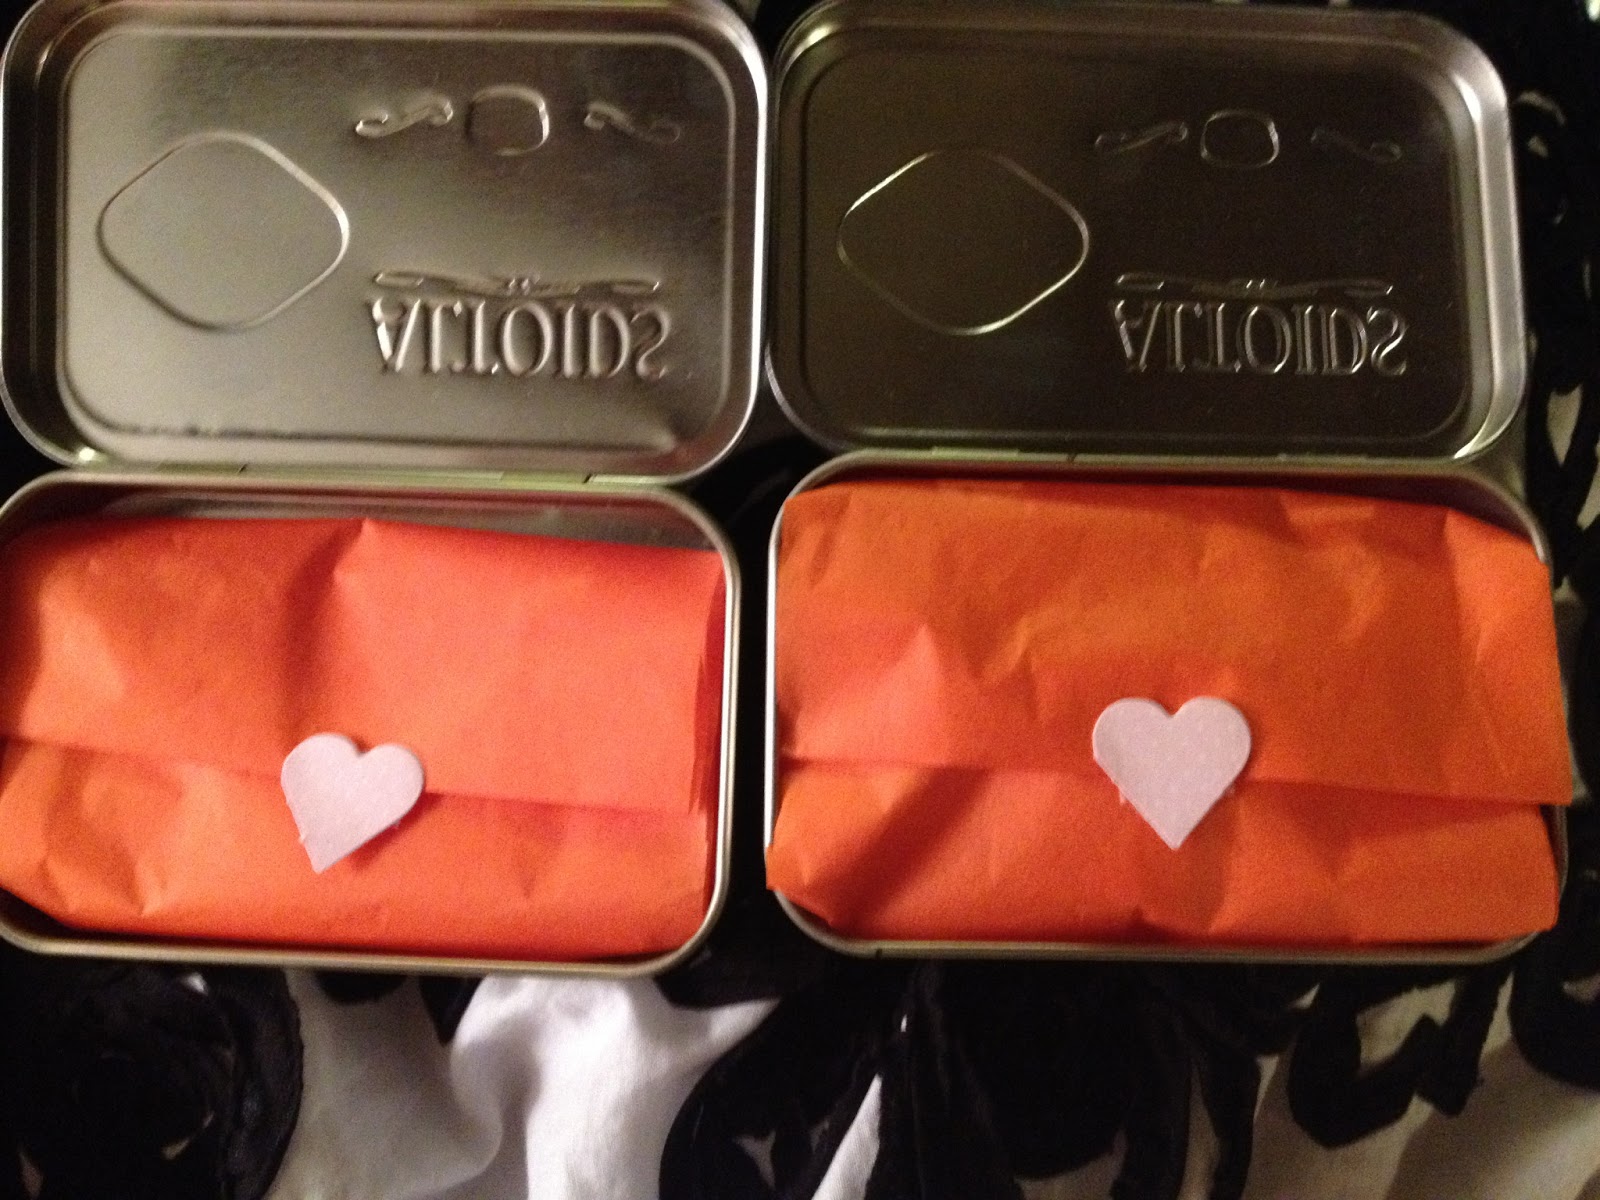
  • Two decorated tins of confectionery hearts (hidden under the orange package above)
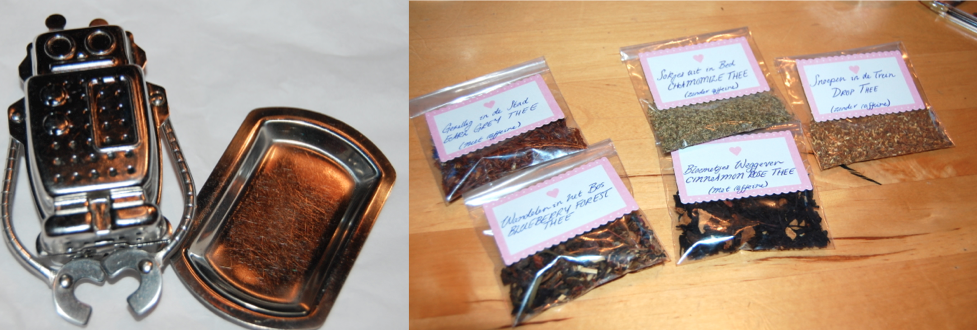
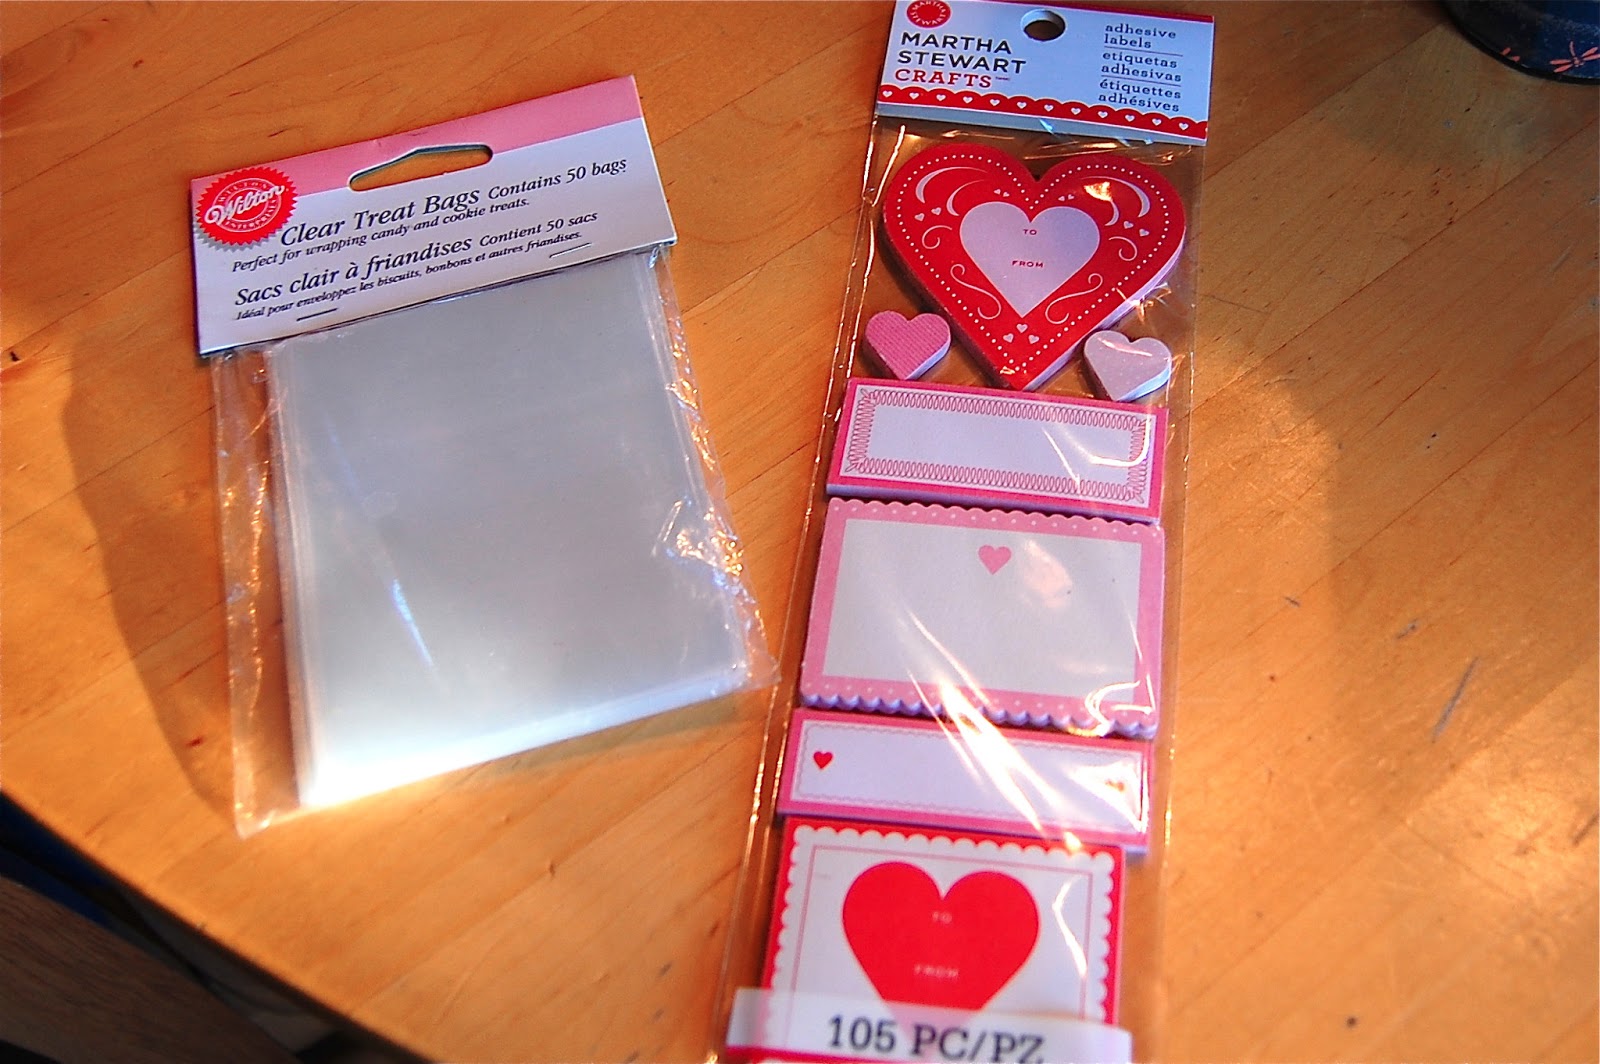
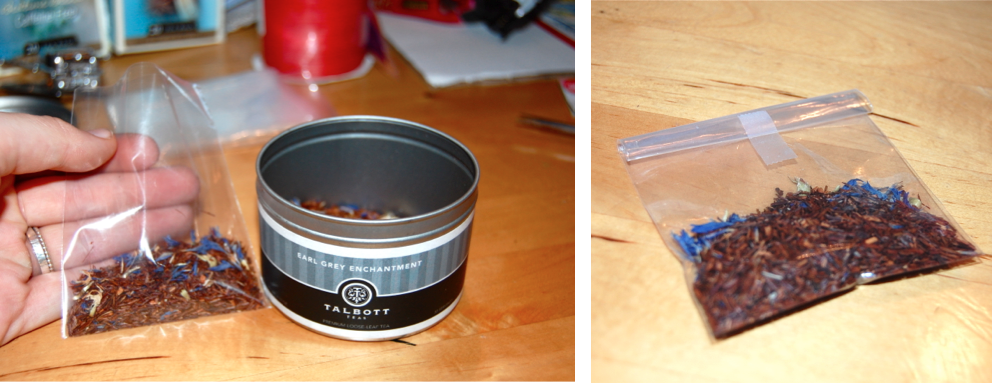
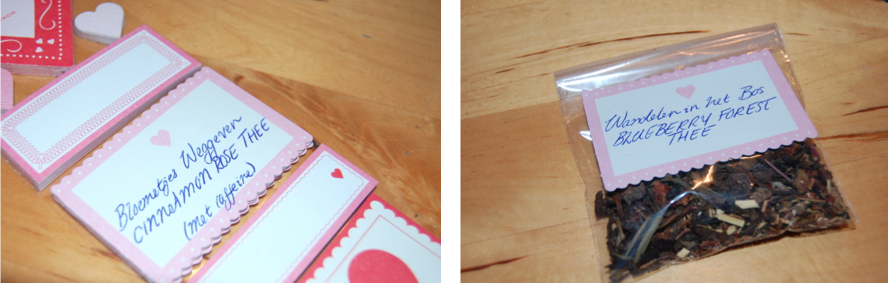
  • A robot tea strainer and five self-labeled bags of loose leaf tea (bottom left; strainer is in the orange packaging)
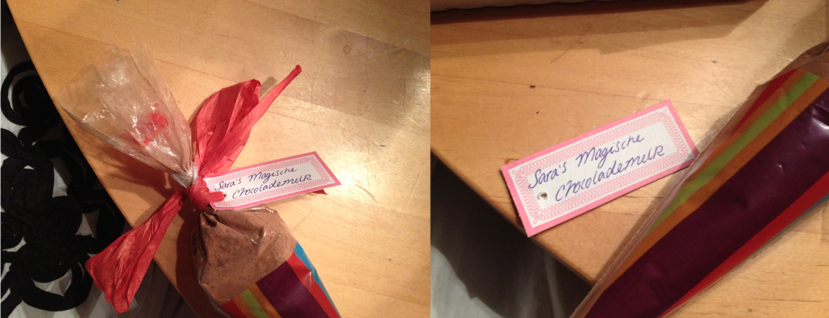
  • A package of homemade hot cocoa mix (top right)
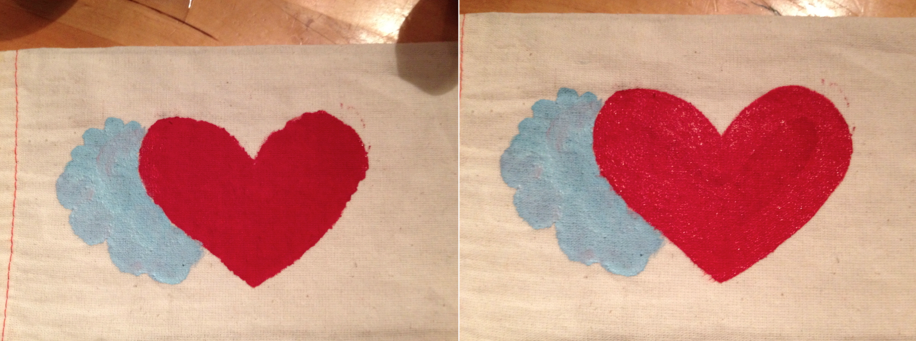
  • Chocolates in a hand-painted muslin bag (bottom right)
  • A small package  of Ferrero Rocher chocolates (impulse purchase at the check-out counter; top left)
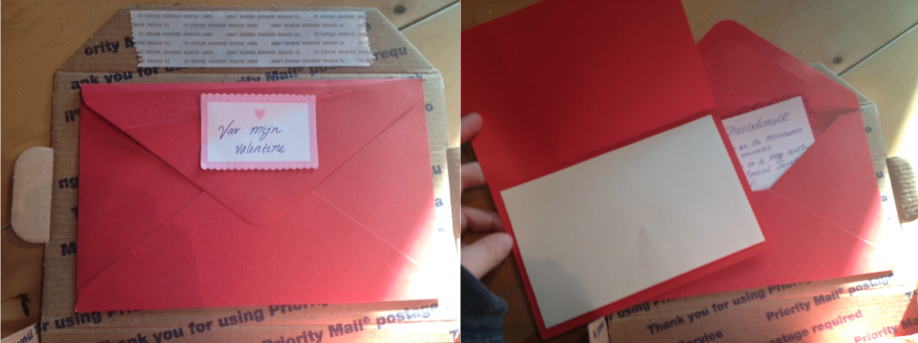
  • A Valentine’s Day card in envelope with cocoa recipe (seen above on the opening flap of the box)

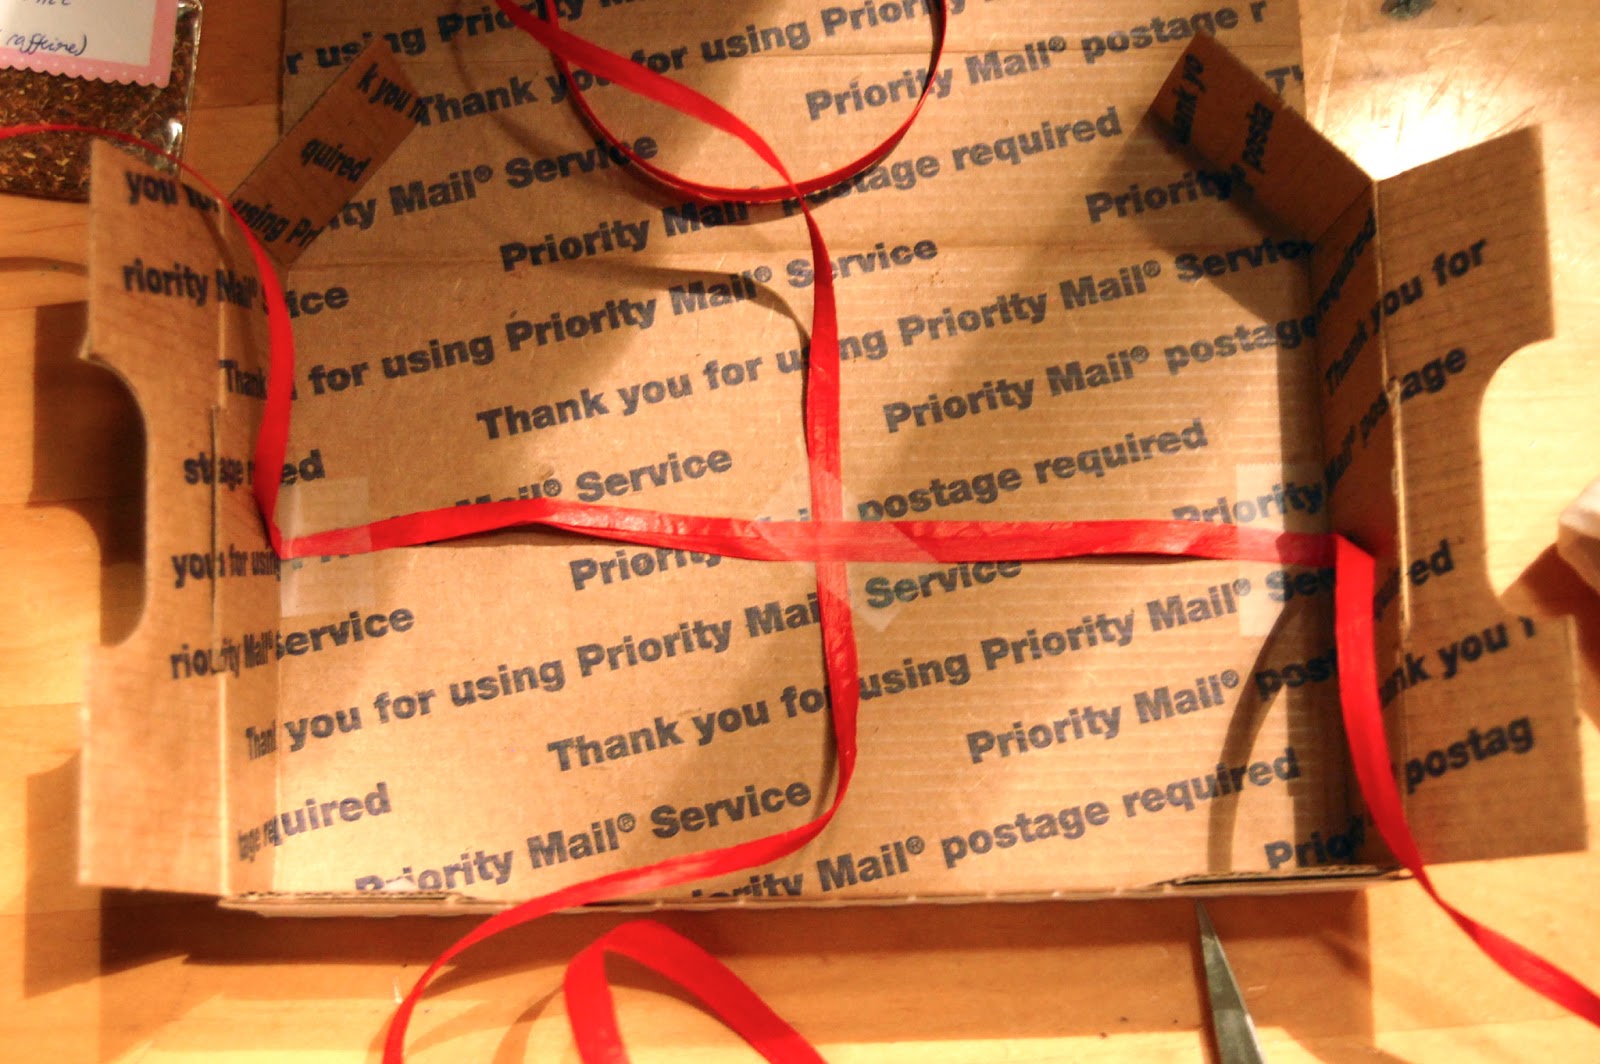
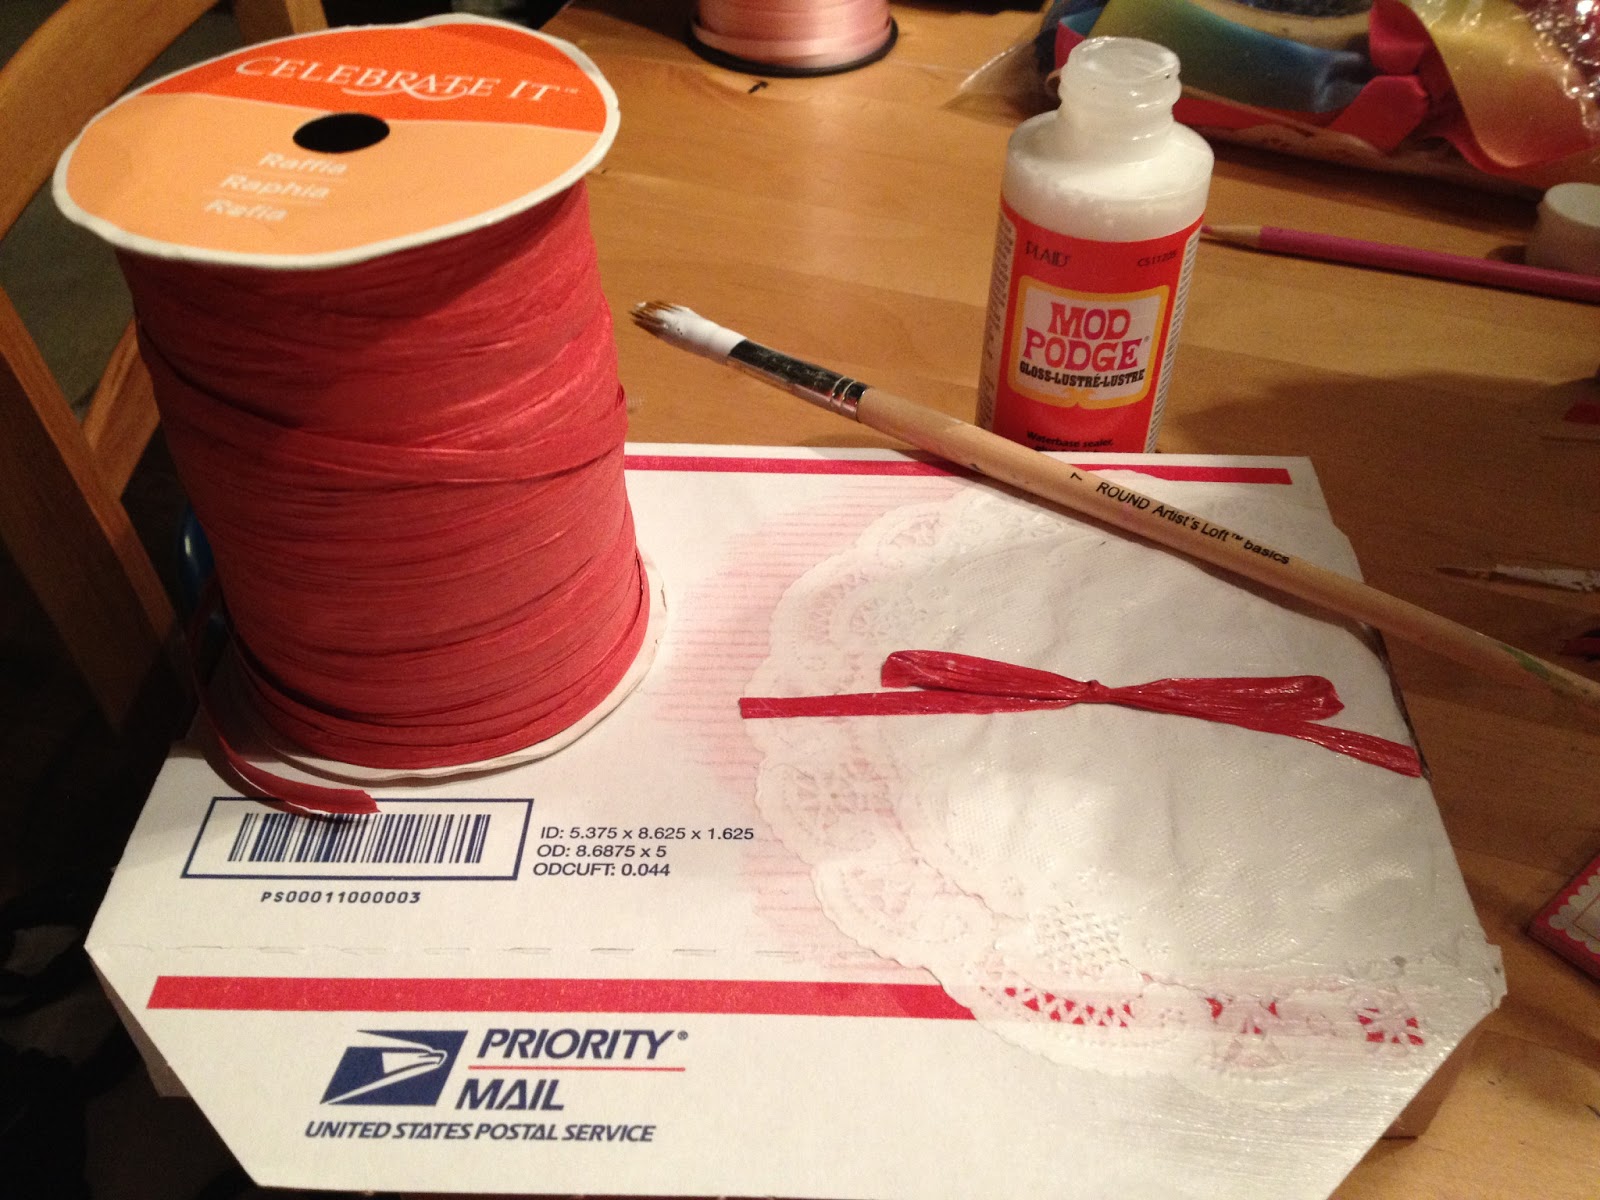
…All packed in with tissue paper and raffia ribbon. I decorated the outside of the box with a paper doily and a bow that I laquered down using Modge Podge.

And now to the tutorial!
Most of the packaging supplies were extras lying around my house, which would have saved considerably on costs if I had remembered the amount of spare tissue paper and ribbon I had at home. Below are short tutorials for each part of the package (including the packaging!) so you can mix and match and modify what you’d like. May it inspire you to do your own creative Valentining. Happy Valentine’s Day!

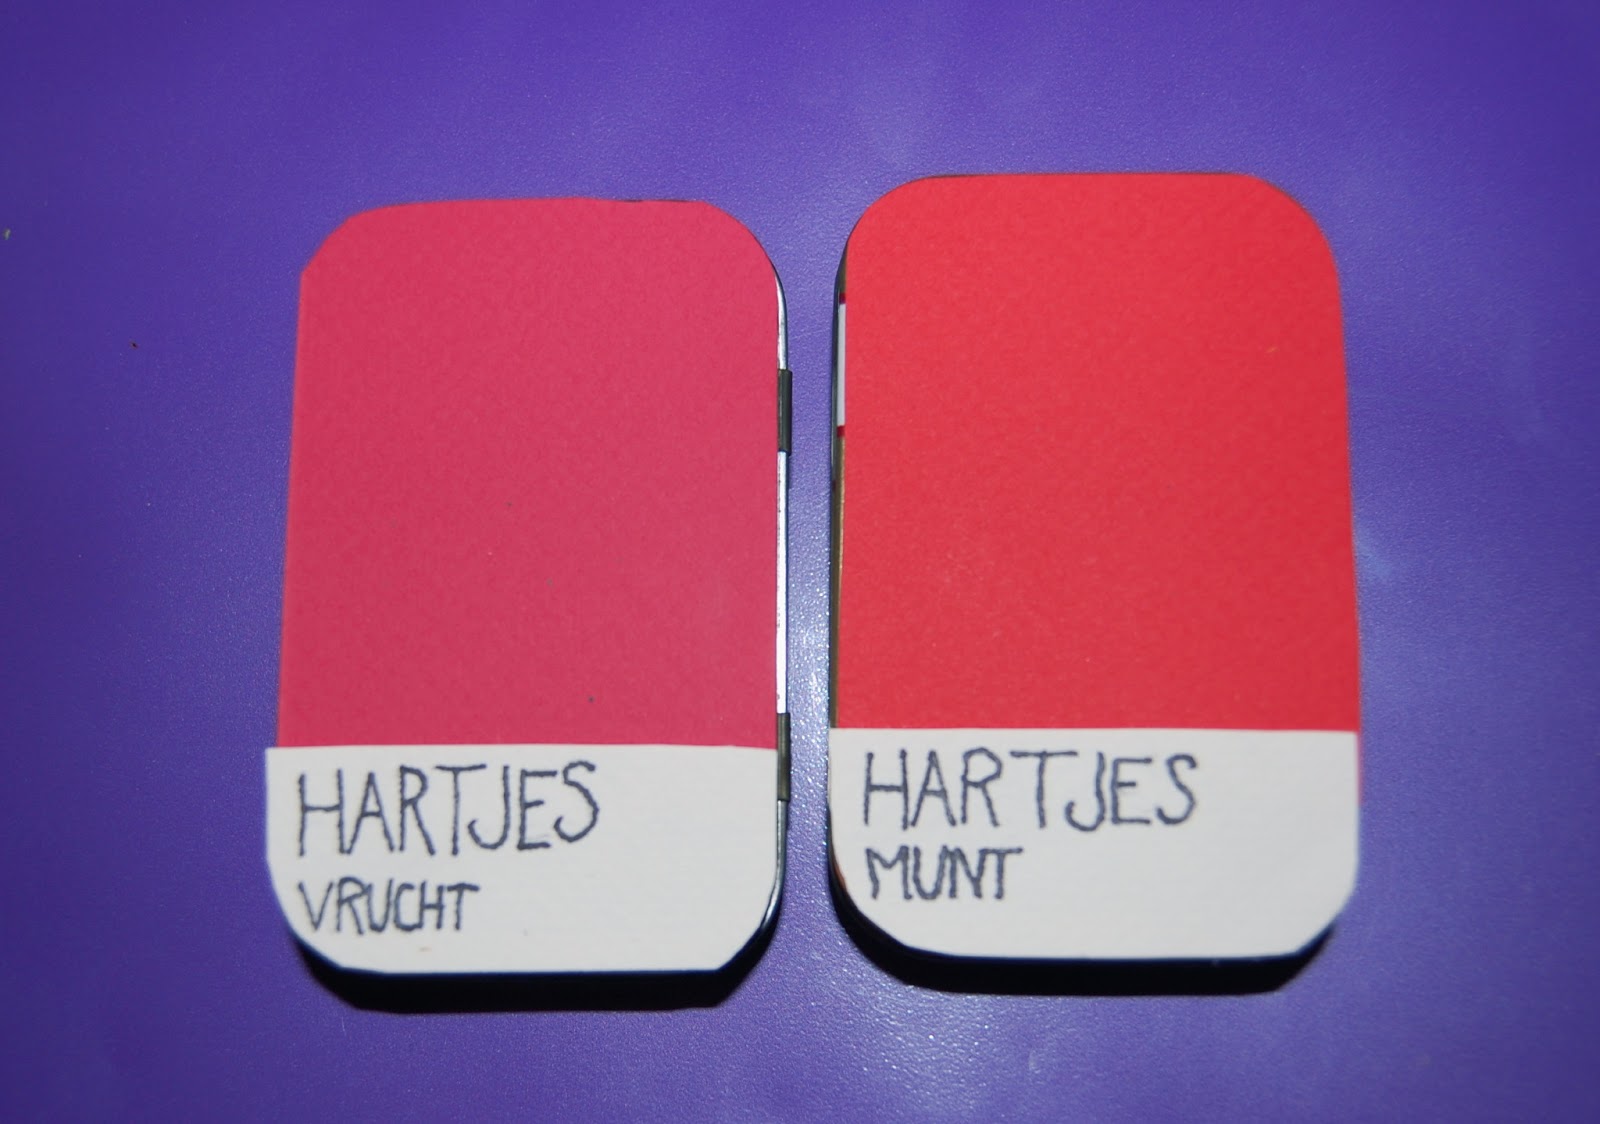
1. ‘Pantone Paint Chip’ Confectionery Heart Boxes

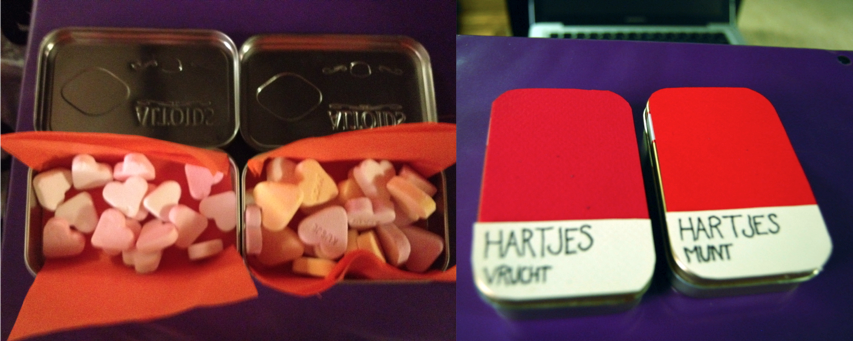
This was a passing idea I had when I saw two old Altoid tins lying around. I used them to divide the mint and fruity hearts. Here’s what I did:

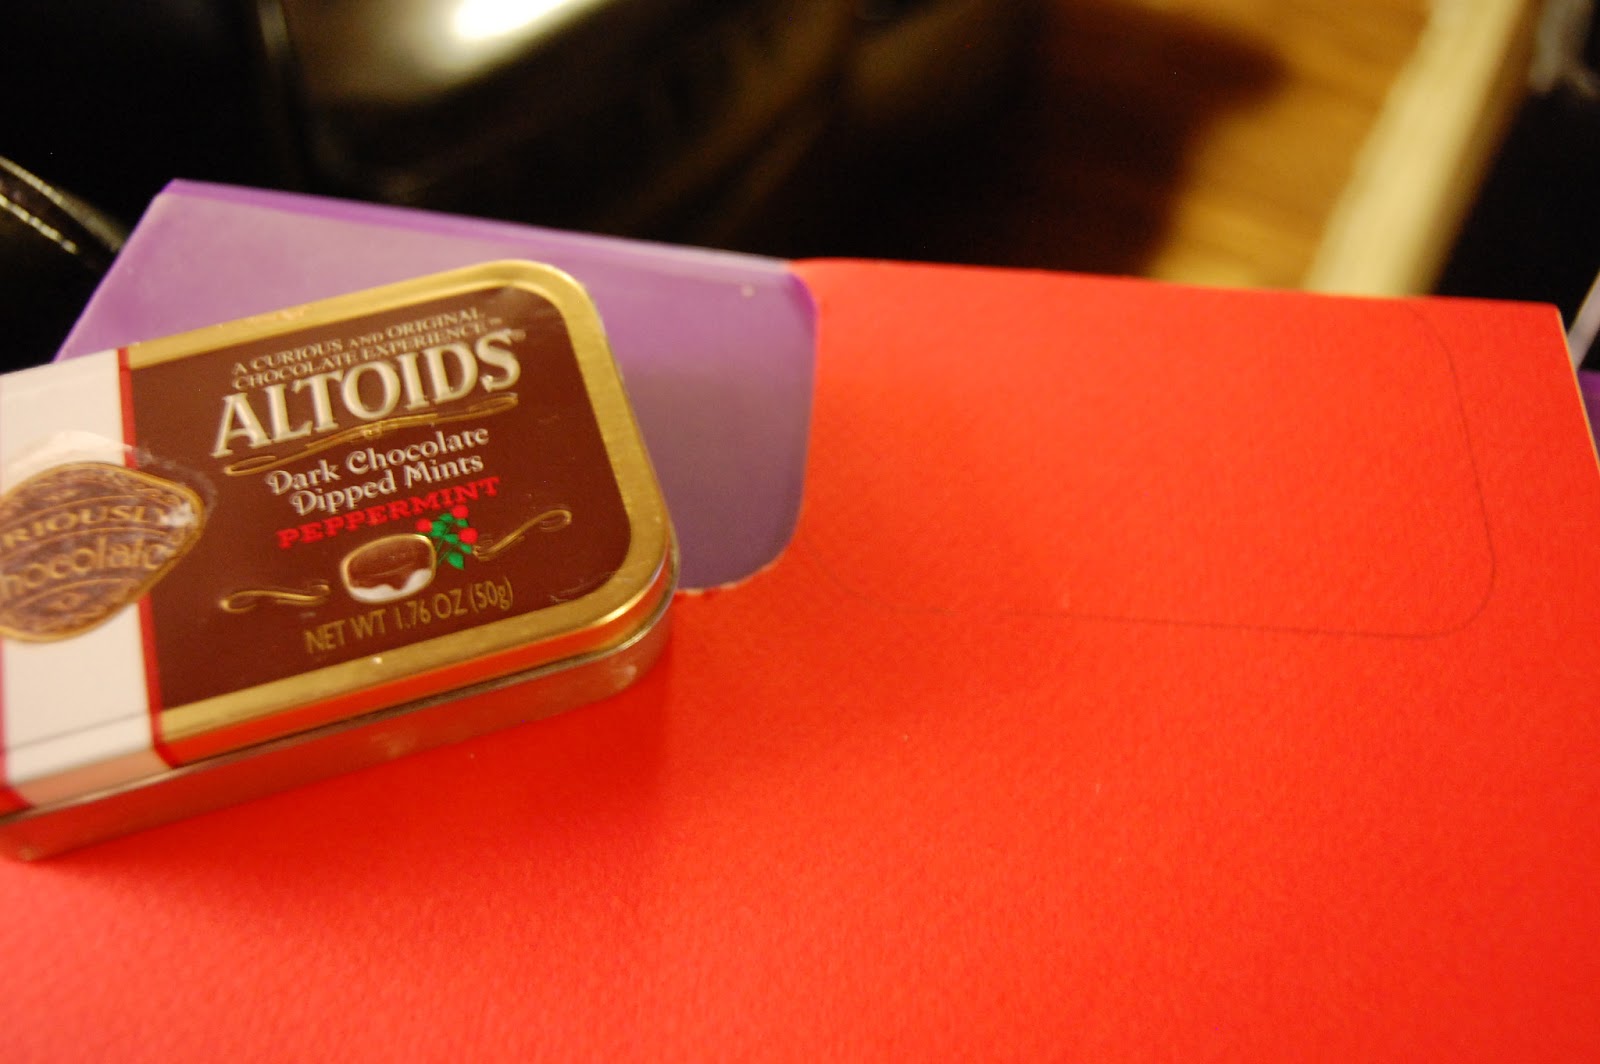
1. Trace the shape of your boxes onto two different shades or colors of paper. If you’re going for the Pantone look, like I was, Altoid tins are not ideal because of the rounded edges, which make the boxes look a little more like psychiatric pills than paint chips, but I made do.

2. Trace and cut out the bottom third of the box you are using in contrasting white paper. Tape or glue the red paper onto the tin and then tape or paste the white piece on top. Add lettering as desired. I decided to label them in the style of Pantone with specifications as to the candy inside. (Forgive my wobbly handwriting- I was sitting on the couch).

(Gah, the pain of poor photography.)

3. For the inside, cut out a square of tissue paper the exact width of the tin, and a little over twice the length so that it can fold over the candy nicely. Fill with candy as desired.

4. Tape the tissue paper over- I used little heart decals from a package of Martha Stewart adhesives to cover the tape.
2. Handmade Loose-leaf Tea Bags
I picked up the above tea strainer in a tea shop in Leiden for around six euros, and I wanted to include tea to go with it, so I decided to take a couple of spoonfuls of my favorite loose-leaf teas and give them cute names corresponding to both relationshippy-things and the tea flavor.
I used the following bags and labels, which I bought for a few dollars each at Michael’s.
1. Add a few small spoonfuls of tea to one of the clear bags. Tape the top edge of the bag over.
2. Write the name of the tea or your own nickname for it on one of the adhesive labels and tape to the front of the bag.
3. Painted Muslin Bag
I put the chocolates in a bag to be as compact as possible for later in packaging. I happened to have a muslin bag lying around somewhere, and was inspired by this link that I found on Pinterest to decorate it with acrylic paint.
1. Slip a piece of cardboard into the bag to prevent paint bleed-through.
2. Using another piece of cardboard, cut out a stencil of the design you want to paint.
3. If you plan to paint something around the stencil, you can use the punch-out to prevent bleeding paint onto the stenciled part of your design.
4. Use your brush to even out the edges of your stenciled areas. Let dry (about 30-45 minutes) before removing cardboard.
For added effect, I wrote little messages on the back of the bag in a thin Sharpie.
4. For the cocoa mix, I just took an extra see-through pointy bag from the candy store, and filled it with my favorite mix for hot chocolate. I closed the bag with a twist and a small piece of tape, tied over it with a ribbon for decoration, and added a label to the bow. If you’re going to be fitting it into a box of limited size, like I am, I would suggest leaving the top a little loose so that it can more easily be made flat.
5. Putting it All Together
1. Fold the USPS box into its proper shape. Put your items into the box to check for the best configuration to save space.
2. Remove the items from the box. Cut two lengths of ribbon- one approximately three times the width of the box, and one approximately three times its length. Tape them together in a plus-shape to the center of the box, the shorter ribbon going vertically and the longer horizontally.
3. Add a double sheet of tissue paper in your preferred color to the lining of the box. Press the edges in so they don’t take too much space. Fill the package with your goods as tightly as possible to save space.
4. Close the tissue paper over the box, sides first, then folding in the bottom and lastly, the top. Make sure that you wrap tightly enough to fit to the confines of the box.
5. Tie the vertical ribbon over and knot it once. Tie the horizontal ribbon and knot once. Now add a small handful of paper crinkle or other decorative filling on top of the knots and tie the ribbons over it into one knot. Make a bow. Fan out the raffia or ribbon to make the bow fuller.
6. You can now tape your valentine’s envelope to the opening flap of the box. I included a valentine and instructions for the cocoa mix.
6. Decorating the Box
Make sure to decorate the side of the box on which the postage and addresses will NOT be written. I used the back side of the package, which coincidentally is the same side as the opening flap.
1. Take a paper doily or other flat decoration (doilies work well because the lacey cut-outs allow the Modge Podge to stick better) and cut it to the dimensions you’d like to use.
2. Place the doily/decoration where you would like it to go. Because the doily was the same white as the box, I shaded under it with a pink colored pencil for contrast.
3. Using a paintbrush, brush thoroughly over the doily with Modge Podge or another adhesive. Because the ribbon I was using was paper, I added a small, flat bow and used Modge Podge to paste over that as well.
Ta-dah!
 Happy Valentining!
With love,
Sara
Sara Laughed

Hey hey! I'm Sara, an American writer living in the Netherlands and working as a product manager.

Leave a Reply

Your email address will not be published. Required fields are marked *