Hey all!
I’m at home from college during my winter break, and wanted to put together my Valentine’s package before going back to school, since most of my craft supplies are here. As some of you may know, international shipping is wildly expensive, so in an attempt not to go bankrupt, I managed to fit all my gifts in the smallest USPS flat rate shipping box, the international shipping rate of which is $16.75 (still expensive, but considerably less than the next box up, which is $49.75, or FedEx, which is an unbelievable $116.75).
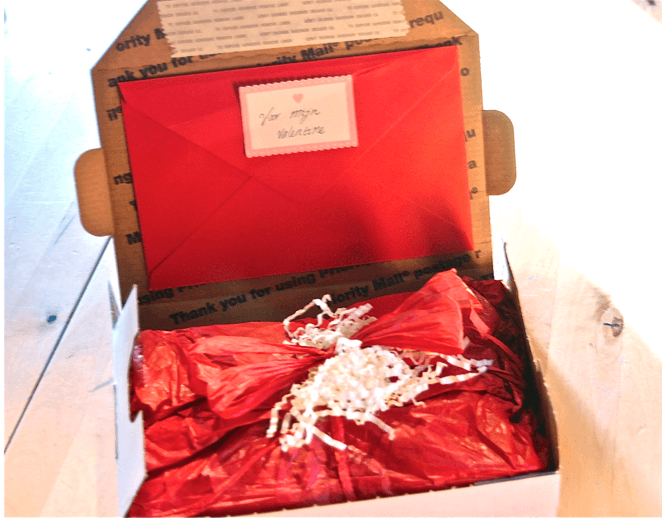
Here’s the finished product:
My Specific Person is to be left unawares, so if you know him, do me a favor and don’t give any spoilers!
The package contains:
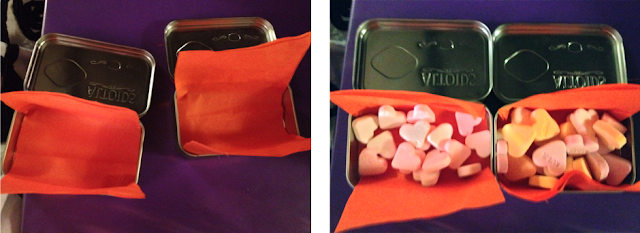
- Two decorated tins of confectionery hearts (hidden under the orange package above)
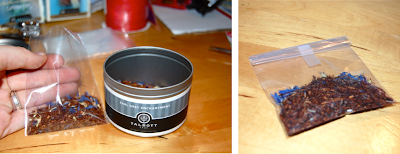
- A robot tea strainer and five self-labeled bags of loose leaf tea (bottom left; strainer is in the orange packaging)
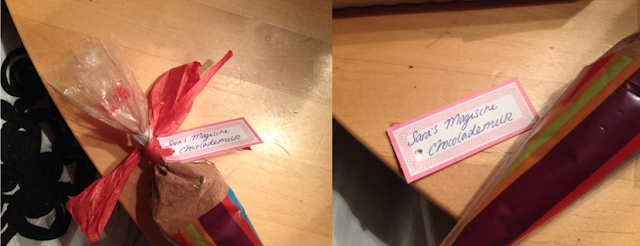
- A package of homemade hot cocoa mix (top right)
- Chocolates in a hand-painted muslin bag (bottom right)
- A small package of Ferrero Rocher chocolates (impulse purchase at the check-out counter; top left)
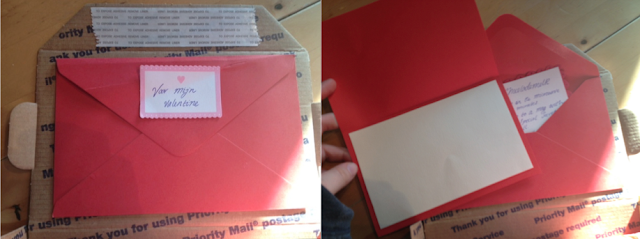
- A Valentine’s Day card in envelope with cocoa recipe (seen above on the opening flap of the box)
…All packed in with tissue paper and raffia ribbon. I decorated the outside of the box with a paper doily and a bow that I laquered down using Modge Podge.
And now to the tutorial!
Most of the packaging supplies were extras lying around my house, which would have saved considerably on costs if I had remembered the amount of spare tissue paper and ribbon I had at home. Below are short tutorials for each part of the package (including the packaging!) so you can mix and match and modify what you’d like. May it inspire you to do your own creative Valentining. Happy Valentine’s Day!
1. ‘Pantone Paint Chip’ Confectionery Heart Boxes
This was a passing idea I had when I saw two old Altoid tins lying around. I used them to divide the mint and fruity hearts. Here’s what I did:
1. Trace the shape of your boxes onto two different shades or colors of paper. If you’re going for the Pantone look, like I was, Altoid tins are not ideal because of the rounded edges, which make the boxes look a little more like psychiatric pills than paint chips, but I made do.
2. Trace and cut out the bottom third of the box you are using in contrasting white paper. Tape or glue the red paper onto the tin and then tape or paste the white piece on top. Add lettering as desired. I decided to label them in the style of Pantone with specifications as to the candy inside. (Forgive my wobbly handwriting- I was sitting on the couch).
3. For the inside, cut out a square of tissue paper the exact width of the tin, and a little over twice the length so that it can fold over the candy nicely. Fill with candy as desired.


