For the first year and a half of living here, we didn’t use our apartment balcony at all.
This is our first apartment, so when we moved in, we had to start from scratch when it came to furniture and decor. Of all places to put our money, the balcony was lowest on the list; so, for the last year and a half, it’s been… basically unusable.
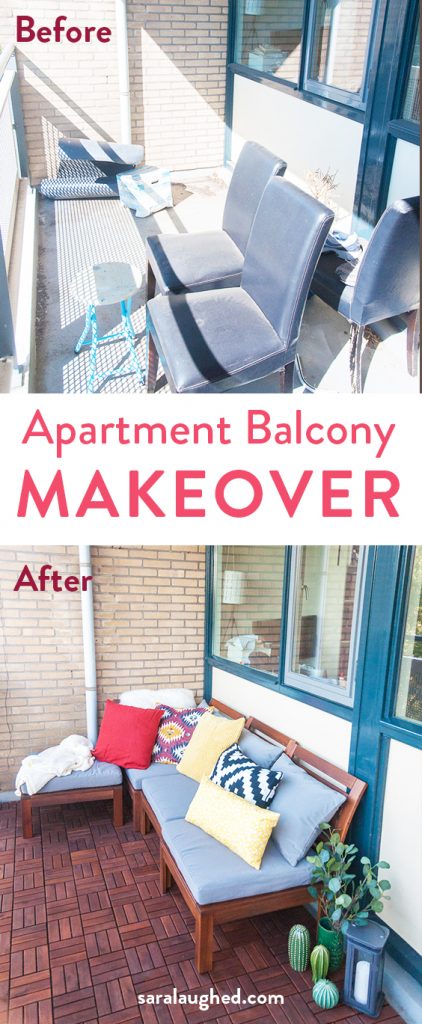
Well, that’s not true. We used it to store unused furniture and pot our plants. Which meant that, however decent it may have looked when we moved in, by this summer, it looked like this:
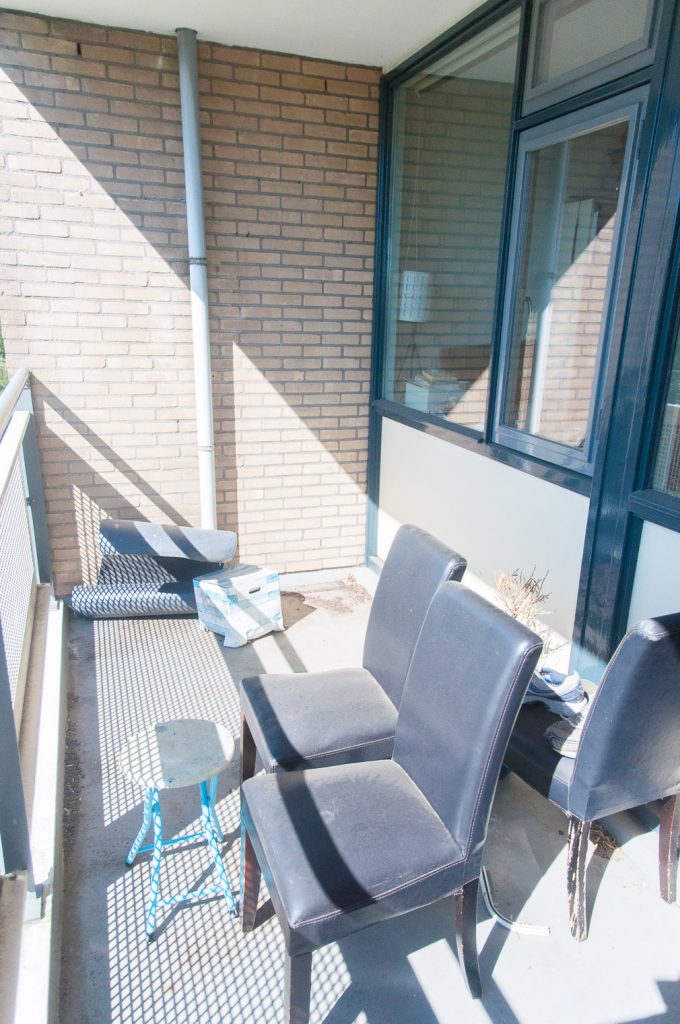
How’s that for a before photo?
After Ken and I came back from our vacation in London, we had a bit of money left over, and decided to invest it in fixing up an area of the house. I pushed hard for the balcony, and after putting together a mood board, a sketch, and a Pinterest collection (you can take the girl out of Wellesley, but you can’t take Wellesley out of the girl), Ken was on board.
The Before
So, first, let me give you an idea of the space.
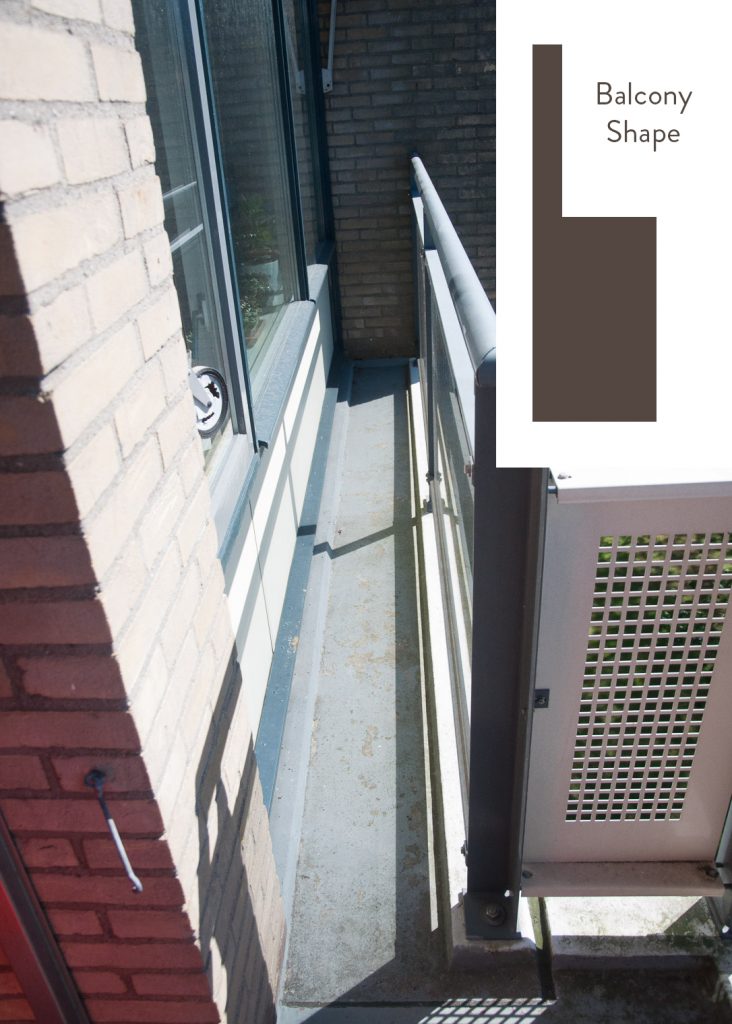
We were lucky to be able to work with a decent amount of square footage in our apartment balcony, but it came in a pretty weird shape. Off of the main area, pictured above, is a thin panhandle-type offshoot so you can wash the living room windows.
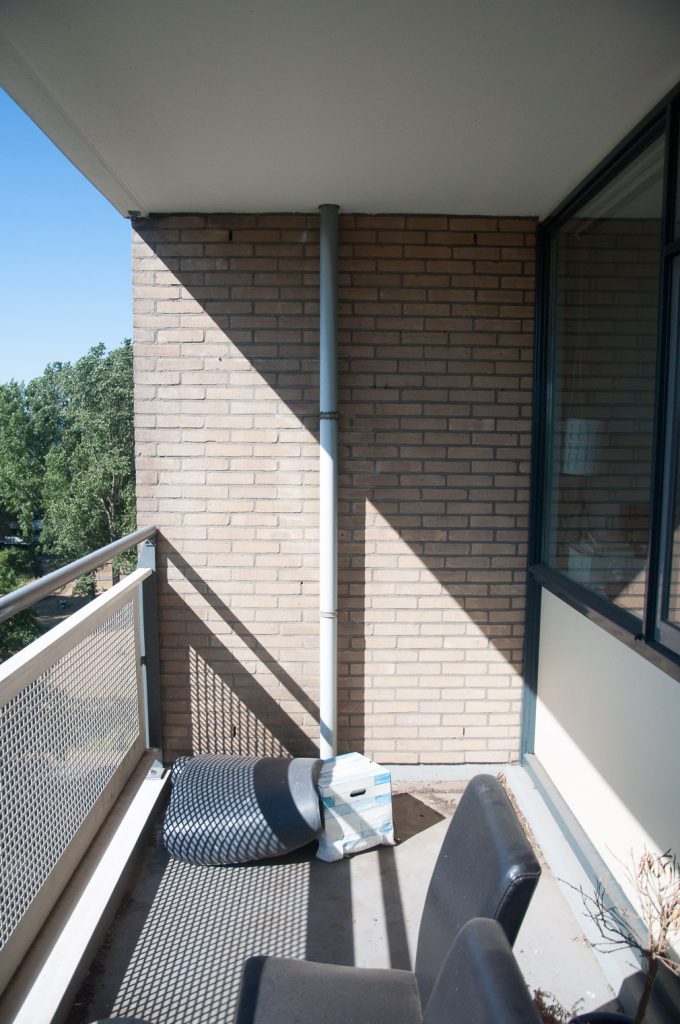
There was also a pipe on the opposite wall that couldn’t be moved.
The Plan
I planned to get almost everything from IKEA. I know that a lot of people dislike IKEA because of the Scandinavian style and DIY aspect, but Ken and I like a pretty modern look for our furniture, and, frankly, couldn’t afford to go to many other places. With the budget we had, we could get the most bang for our buck if we economized on furniture. So, I spent a few hours scouring the IKEA site for items that would work, and then took a trip with Ken to see them in person. A week later, we went with the car to collect what we wanted.
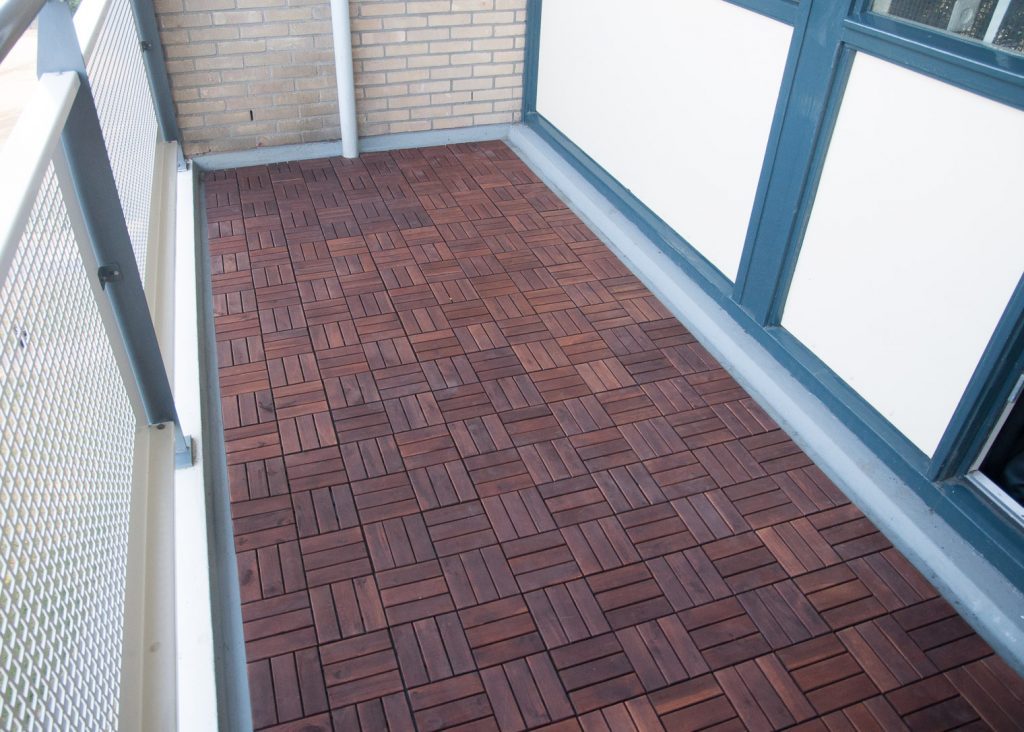
The thing I was the most excited about was the floor. Our apartment balcony is made of brick and concrete, and the floor was an unsightly gray. I had seen do-it-yourself wooden tiling, which here in the Netherlands are called vlonders and I believe are called decking in English. After calculating how much we needed, I crossed my fingers that the tiles would fit into the weird offshoot, because having the floor tie the two areas together would help make that section of the balcony feel less random.
At first, we planned on getting a foldable chair set and table, and a storage area with wooden panels behind it, where we could hang plants. But after looking on Pinterest at other balcony examples, I realized that I really preferred the cozy, pillow-strewn couch vibe, which we had the space for. Ultimately, we decided on a set of low, broad seats that we could arrange into a couch shape to fit our balcony. And so off to IKEA we went.
Cleaning Out the Space
Obviously, before we could bring out anything new, we had to get rid of the old. I spent a couple hours cleaning and removing old furniture while Ken was at work, and after we got back from IKEA the following weekend, we washed the floor and grates together.

After that, it was time to bring out our flooring.

We purchased 9 boxes of the wooden Runnen tiles from IKEA.
Putting it All Together
Ken did the flooring while I assembled the furniture. Luckily, the tiles fit perfectly in the offshoot, and Ken only had to modify two tiles to connect that section to the main space.
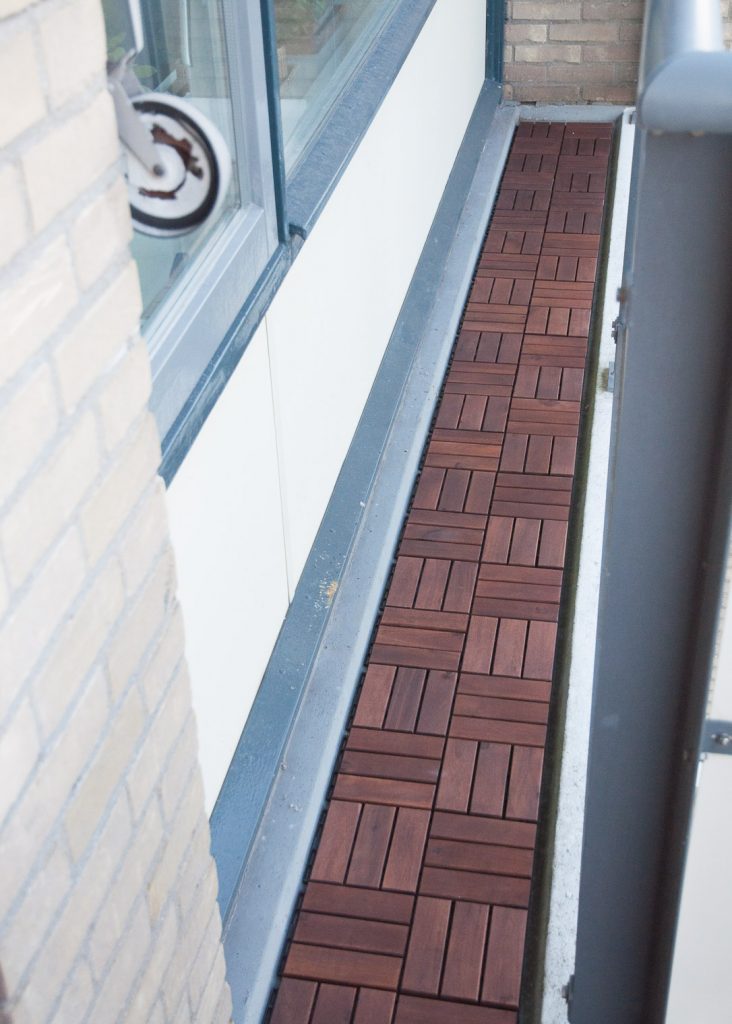
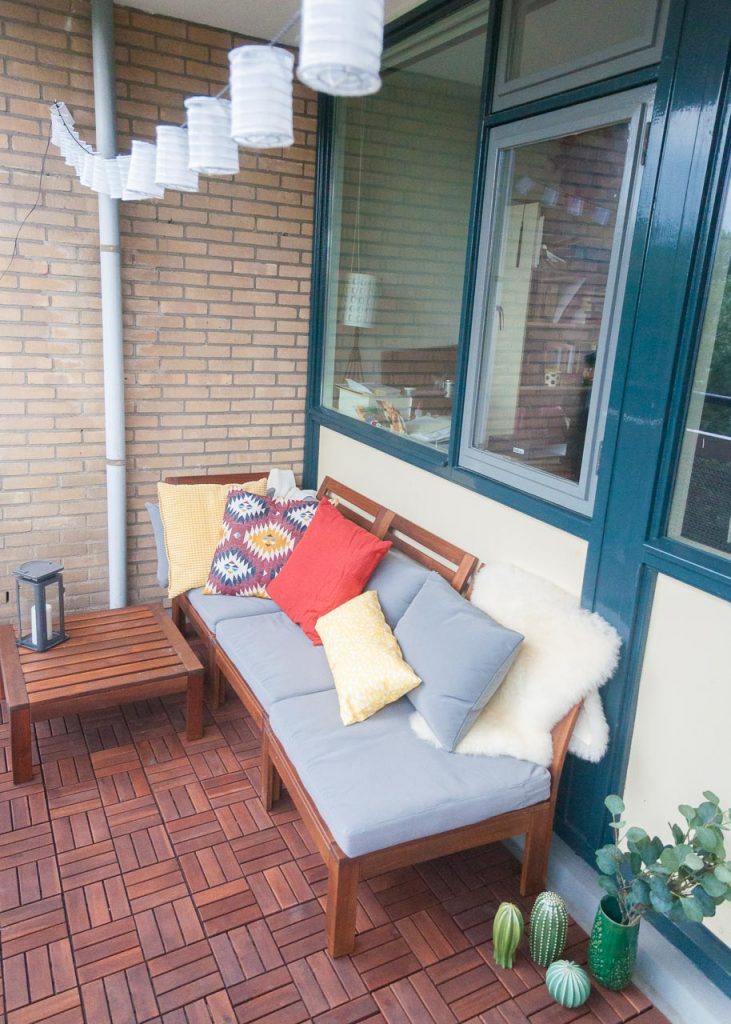
The main section of the balcony was done in an hour or so, though Ken spent quite some time after that cutting a special tile to go around the pipe in the wall (ironically, this was what he spent the most time on, and it ended up being concealed by the couch). The result looked incredible, and made the balcony feel much warmer and more welcoming than the concrete flooring had.
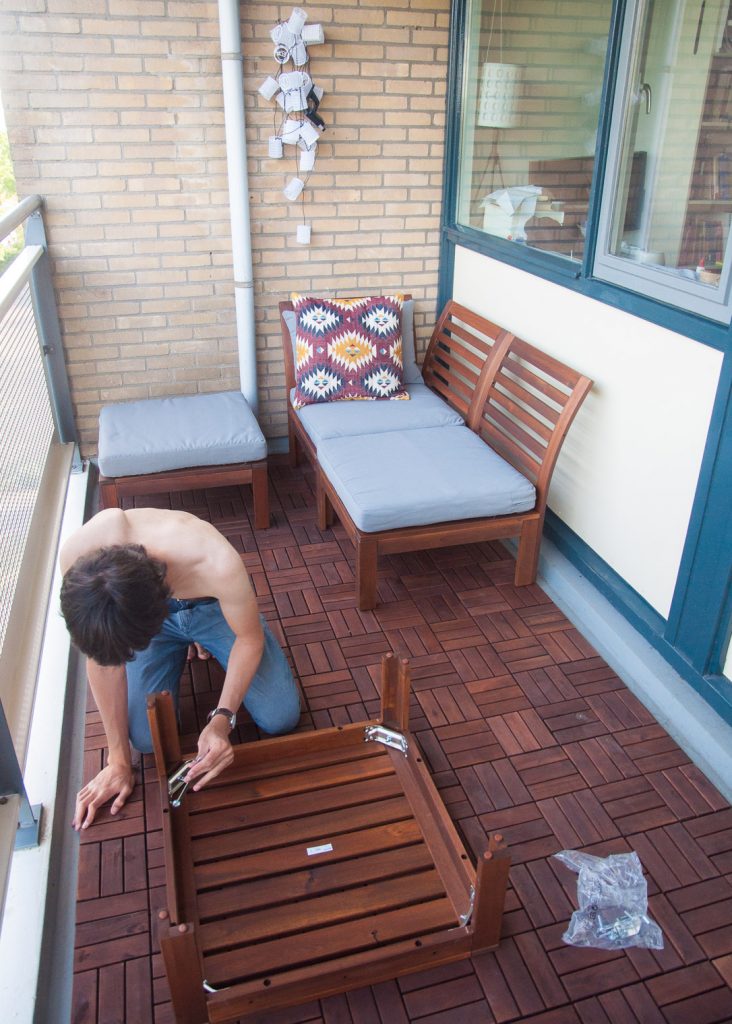
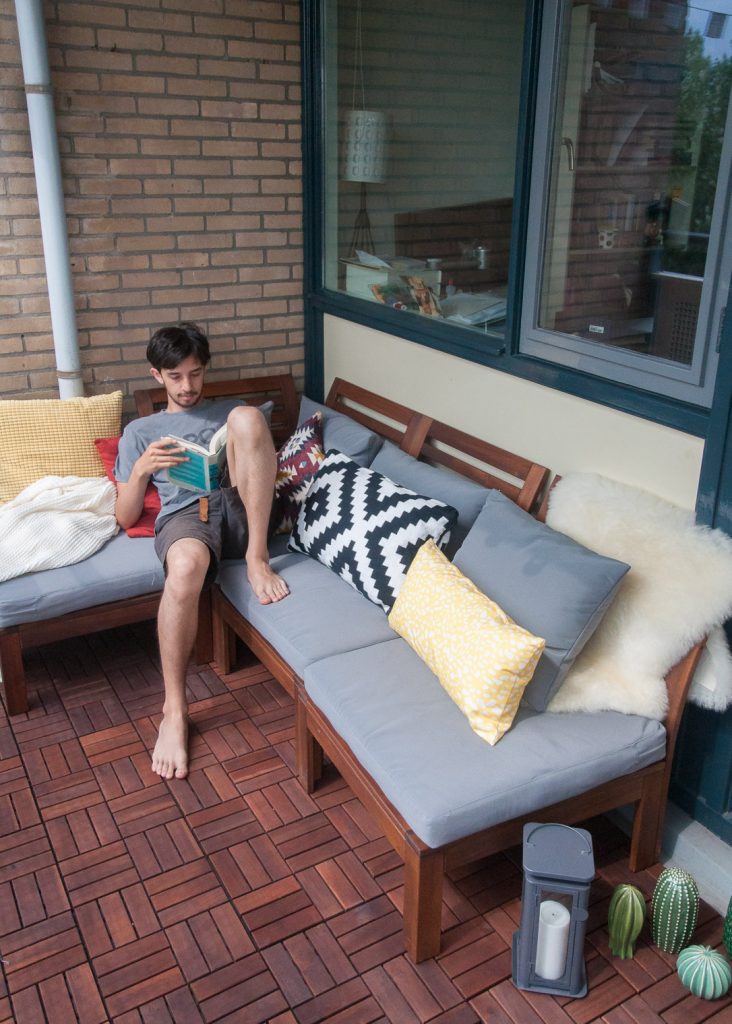
In the time it took Ken to finish the floor, I had put together three parts of the sectional (we bought them from the Äppläro set, if anyone is interested). He finished the last piece while I put the pillows in their casing.
The last touch was a few ceramic plants I bought, a lantern, and some solar-powered string lights. I made Ken go have lunch while I arranged everything for the reveal, because in my head, I’m an HGTV host and this was my time to shine.
The Finished Product
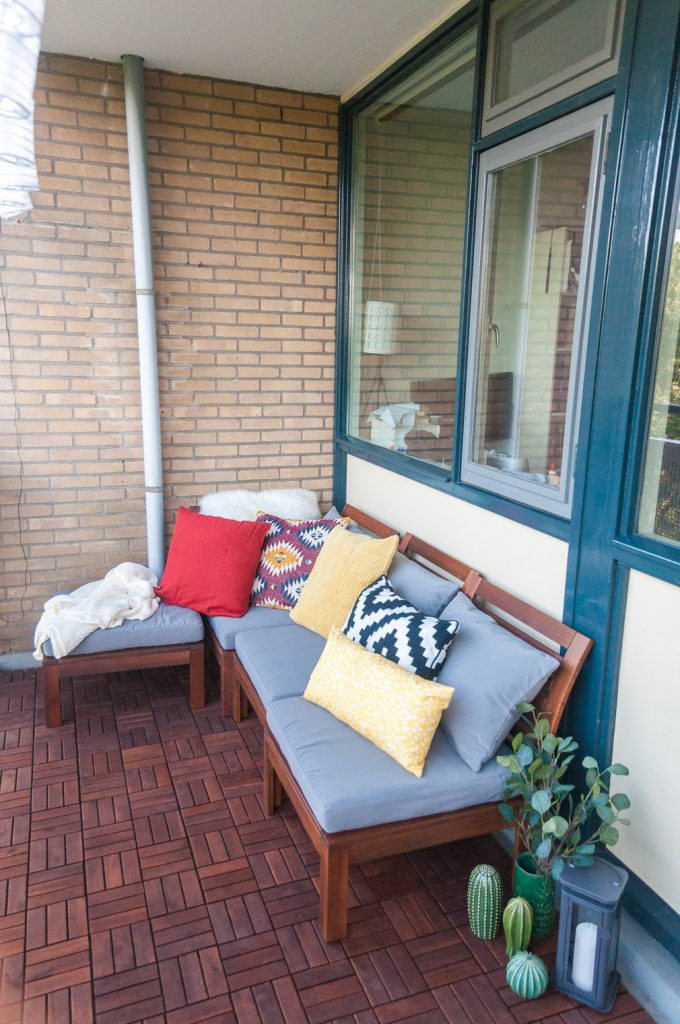
I’m absolutely in love with this space. The sectional works great for seating, and when we want to add more table room, we can simply remove the pillows from the extra seat and use it as a table.
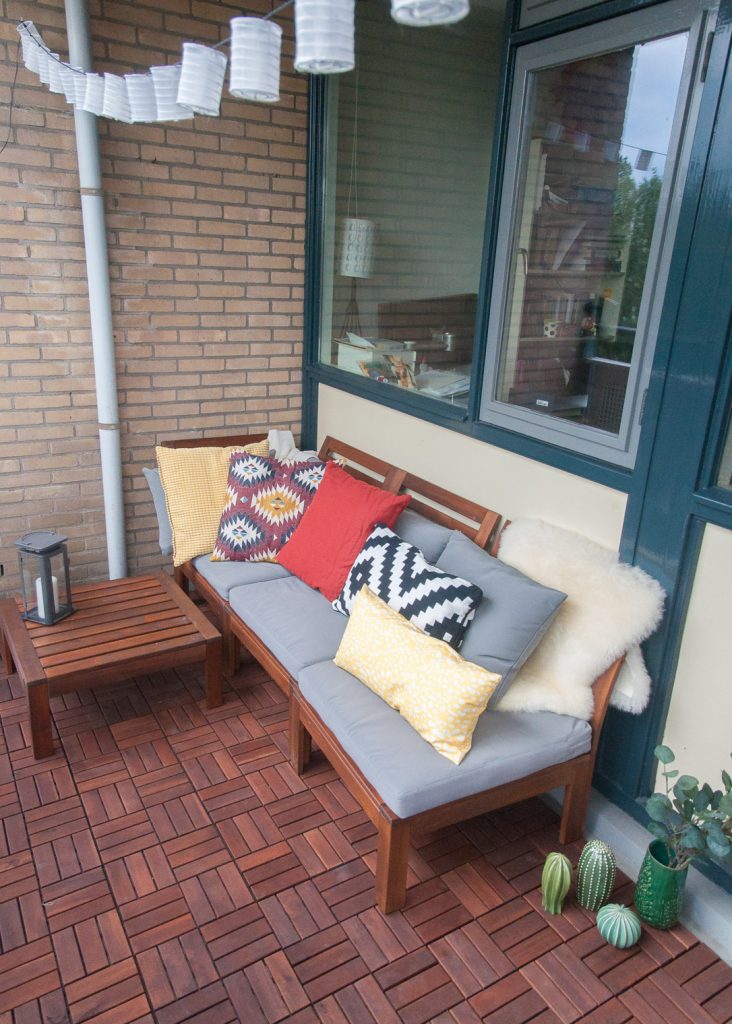
The wooden flooring also really ties together the two parts of the balcony — I feel so lucky that the tiles fit perfectly in the offshoot.
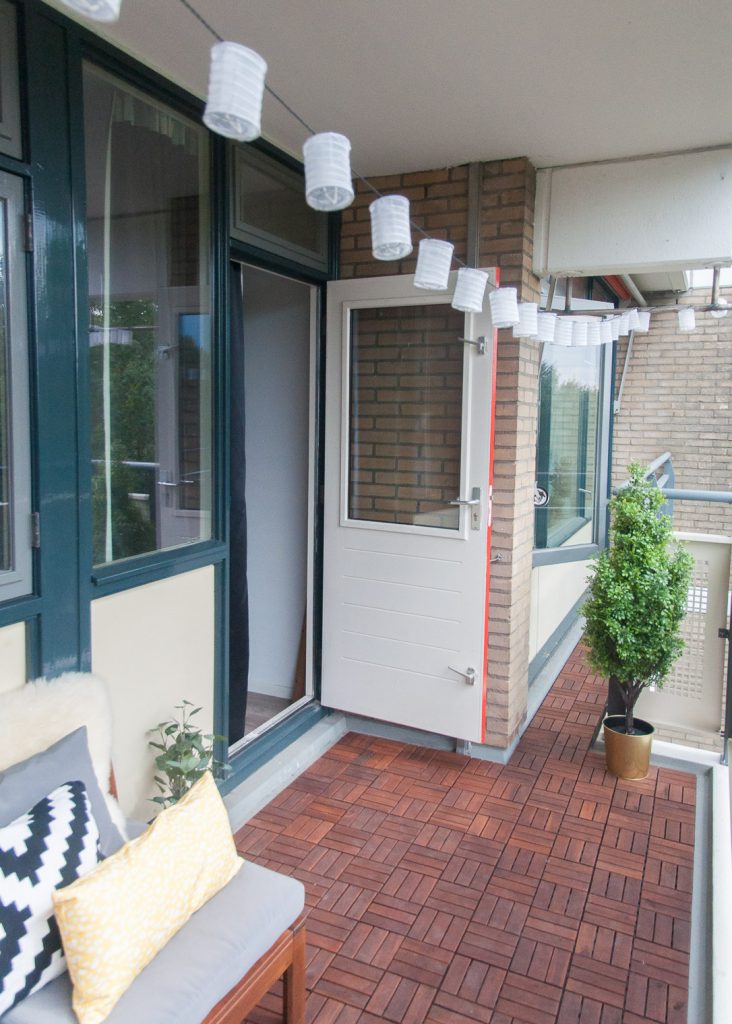
I’ve been spending tons of time reading and working out here during the day, and Ken and I sometimes have dinner on the apartment balcony at night, or sit out there when we have guests over. The solar-powered lights add a warm glow in the evenings — Ken wan’t sure about them at first, but when he saw how they look in action, he was a believer.
The whole transformation really went off without a hitch, and I think that’s due to a few factors:
1. “Research” (e.g. Pinterest)
I spent a decent amount of time searching Pinterest, YouTube, and home decor blog to find out exactly what kind of space I liked. If I had skipped this step, we’d probably have gone with the table-and-chairs set that Ken had suggested t first, and I think we would both be spending a lot less time out here.
2. Careful Planning (e.g. measurements!)
I honestly spent many hours across days choosing the exact flooring, furniture, and decor items that I thought would fit well together. Shopping at one store made this easier, as many of the items are meant to complement each other, but especially when it came to calculating how many flooring sets we needed, or how big our seating area could be, having detailed measurements and a plan came in handy. Ken and I knew exactly what we wanted when we stepped foot in IKEA, and it made such a difference when it came to the cohesion of the final product.
3. Teamwork (e.g. cheesy call for cooperation)
Putting everything together took less than an afternoon, and Ken and I couldn’t have done it in that time if we hadn’t been 100% on the same page. That meant that I included him in the planning stages, showing him the pictures and color schemes I liked and asking how he felt; it meant me being flexible on the day of, when he vetoed ivy and other climbing plants because he didn’t how how they would affect the building; and it meant communicating when it came to splitting the work during assembly. We’re both 100% happy with the balcony, and I think it could have easily gone differently if we hadn’t both made efforts to communicate and listen.
If you have any questions, leave them below, or let me know which part of your house you’d most like to give a makeover. If you need me, I’ll be on the balcony!




That looks amazing!! I love how you did the tiles and created a mini “couch” area. The colors are gorgeous!
Thank you so much, Paige! You’re the sweetest! <3
The transformation is awesome. It looks good! Perhaps inspiration for my own balcony…
Thank you so much Ivy! I wish you luck with your balcony if you do decide to change anything (:
Dear Sara, your balcony looks lovely. You both did well.
Greetings, Patricia