
Welcome to the tenth day of Blogmas with Sara Laughed, where I’m blogging every day ’til Christmas Day. Head over to my Blogmas calendar to see the full collection, or click on the gift tag below!

If you haven’t been able to tell from the dried citrus and apple-cinnamon ornament tutorials I posted last week, I’m making most of our Christmas ornaments myself this year. While the baked ornaments we made have fairly rich colors, the ornaments we’ll be keeping year after year are mostly white, silver, and gold. I wanted to create some ornaments that would keep well and fit with the ones we already had, and I happened to have a package of white air-dry clay lying around, so after some inspiration-hunting online, I decided to try my own clay moon ornaments.
To start, you’ll need:
- White clay (I chose air-dry, but baking clay will also work)
- A rolling pin
- Two glasses: one with a large rim and one with a smaller rim
- A cutting board
- A knife
- A toothpick or straw
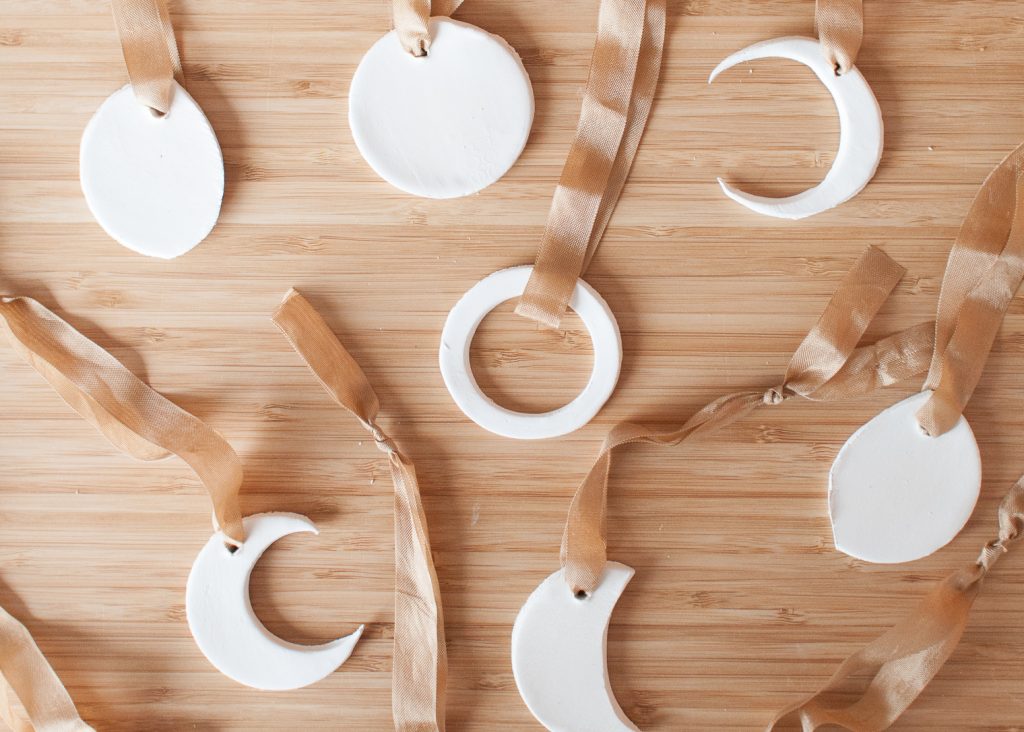
Roll out your clay until it’s about 1/4th inch thick. Use your larger glass (I used a wine glass) to create circles in the clay; I found it helpful to press all the way into the clay and then turn a little, to keep the circle from staying in the glass.
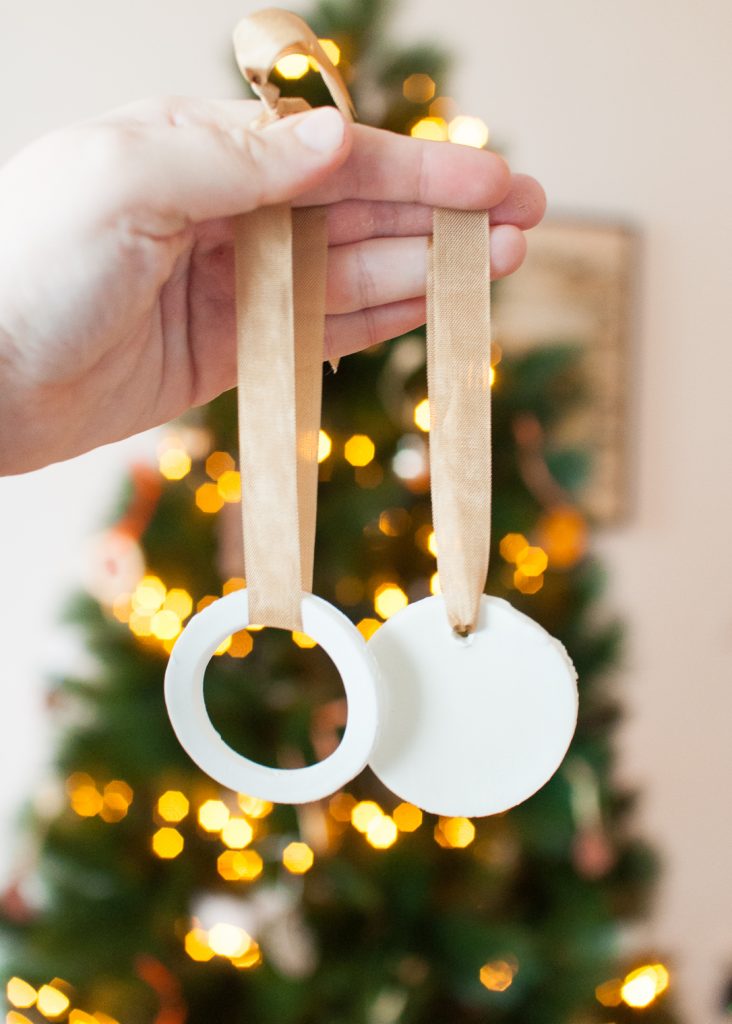
You can use the smaller glass and the knife to cut your moon phases. I placed the smaller glass inside a larger circle to create the empty “new moon” ornament.
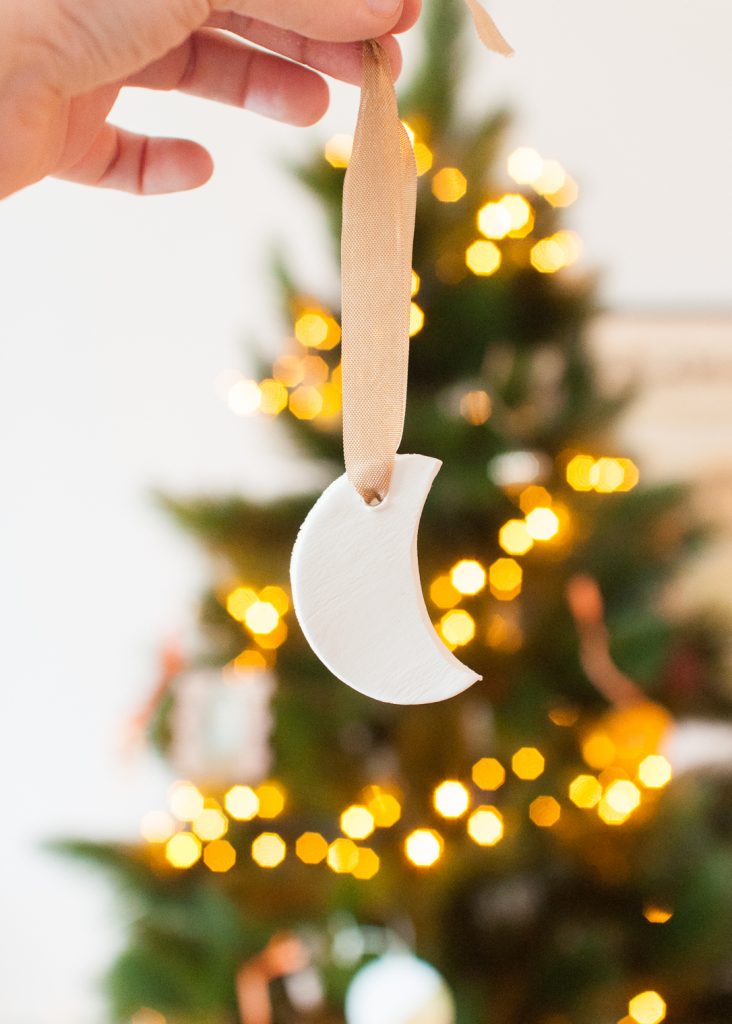
For the others, I used the knife to cut approximate moon phase shapes. Here are the moon phases I created:
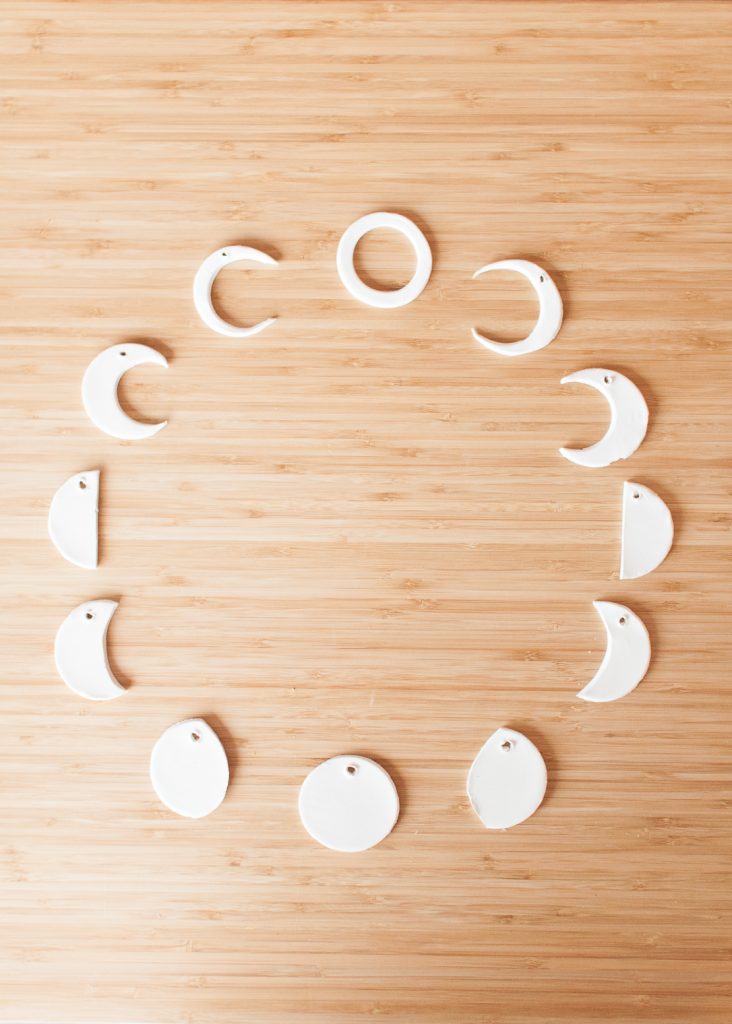
Next, use a toothpick to create a little hole in each ornament that you can hang the string through later. You can also use a straw to create more uniform holes, though it may become tricky with the thinner moons.
I let the moons air dry for about a day. If you chose oven clay, bake your ornaments in the oven until they’ve hardened.
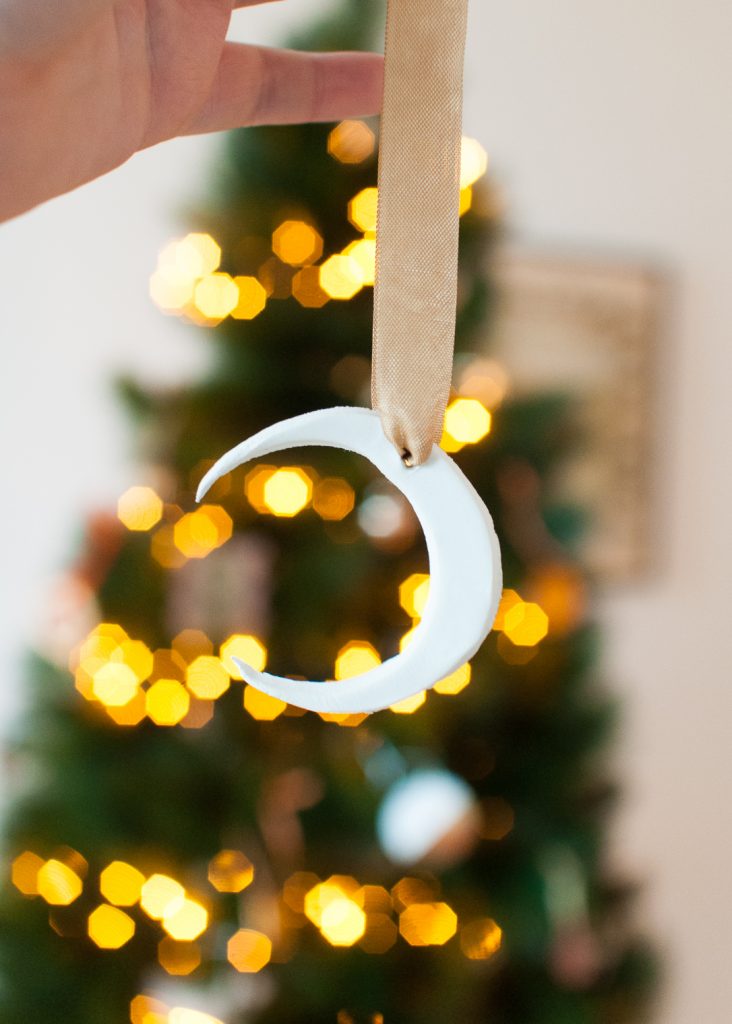
Next, take string or ribbon and thread your ornaments. I made my loops fairly large because our tree branches are pretty big, so smaller loops prevent the ornaments from hanging well.
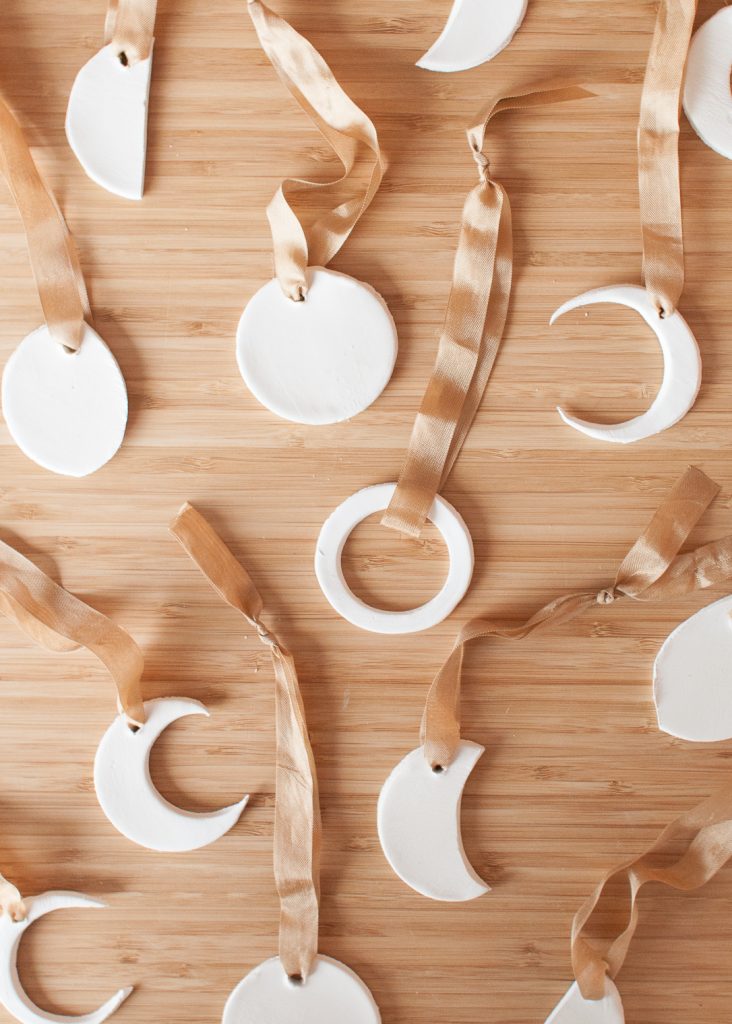
That’s it! These are super easy to make, and the final product can feel elegant if you pair it with other simple ornaments in the tree.