Welcome to the thirteenth day of Blogmas with Sara Laughed, where I’m blogging every day ’til Christmas Day. Head over to my Blogmas calendar to see the full collection, or click on the gift tag below!
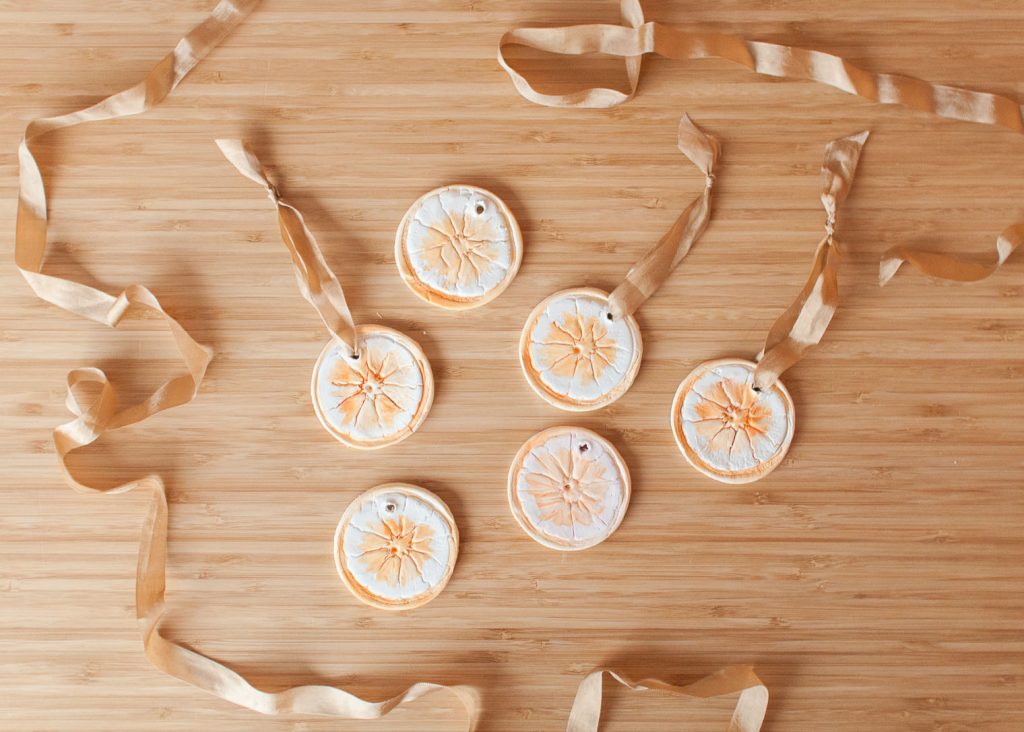
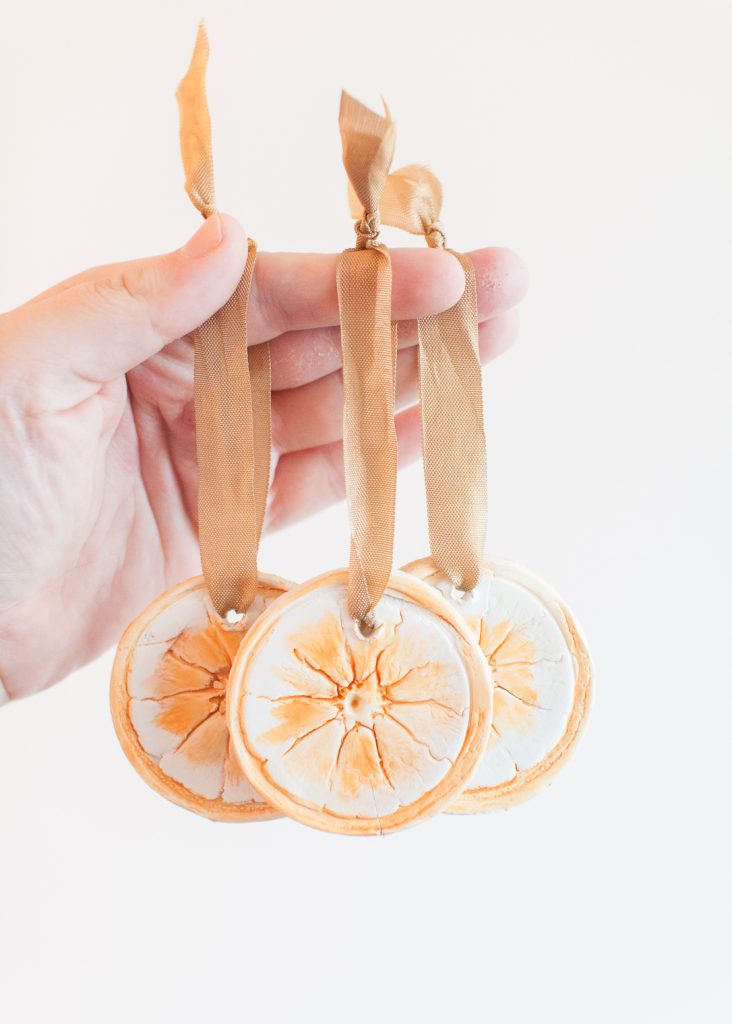
A few days ago, I showed you how to make clay moon ornaments. Well, I ended up with some extra clay, and rather than letting it dry up and go to waste, I decided to make another set of clay ornaments. Inspired by the baked citrus slices we already had hanging, I made some watercolor clay orange slice ornaments.
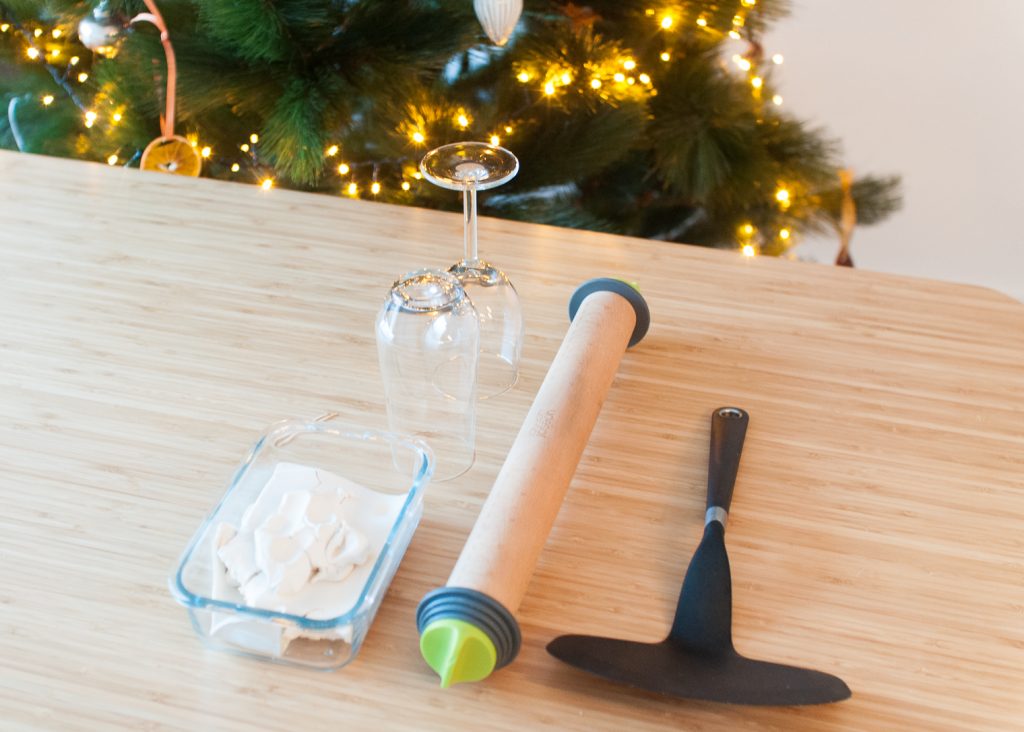
To make these, you’ll need:
- White air dry clay (make sure it’s a true white, not cream. Any color will interfere with the watercolors)
- A rolling pin
- A glass
- A toothpick
- A dried orange slice or a toothpick to draw your own pattern
- Watercolors
- A brush
- Ribbon to hang the ornaments
Roll out your clay until it’s about 1/4″ thick. Take your glass and cut circles into the clay.
Press your orange slice into the clay circles, or use a toothpick to draw your own orange slice pattern into the clay. Cut a circle into the tops of the ornaments and let them dry overnight.
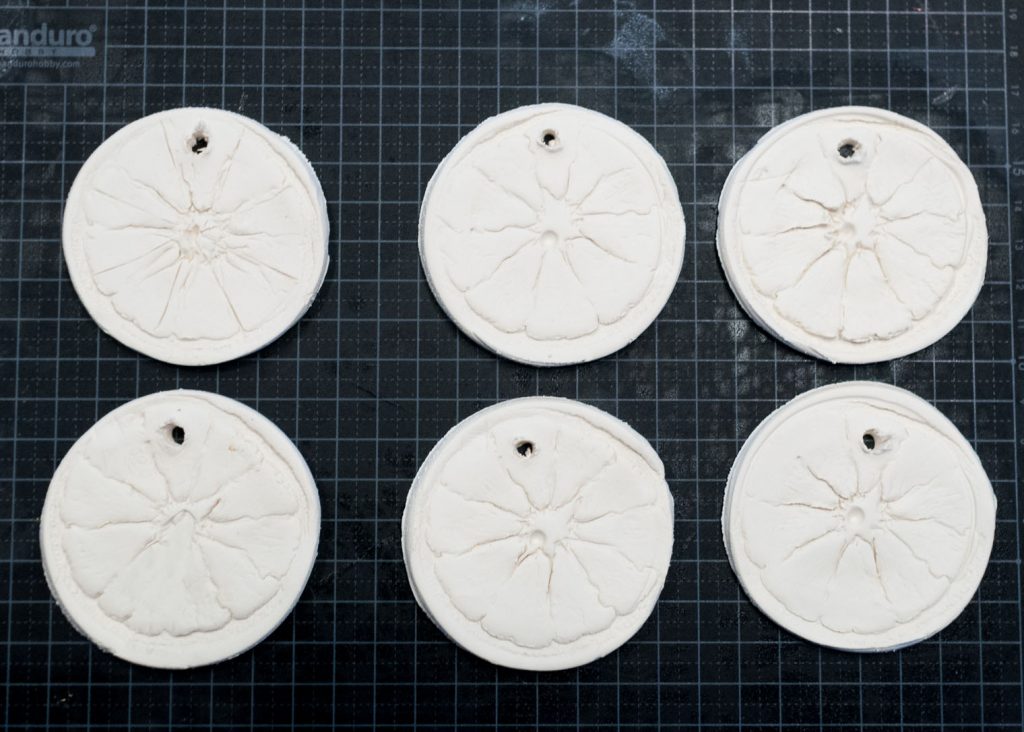
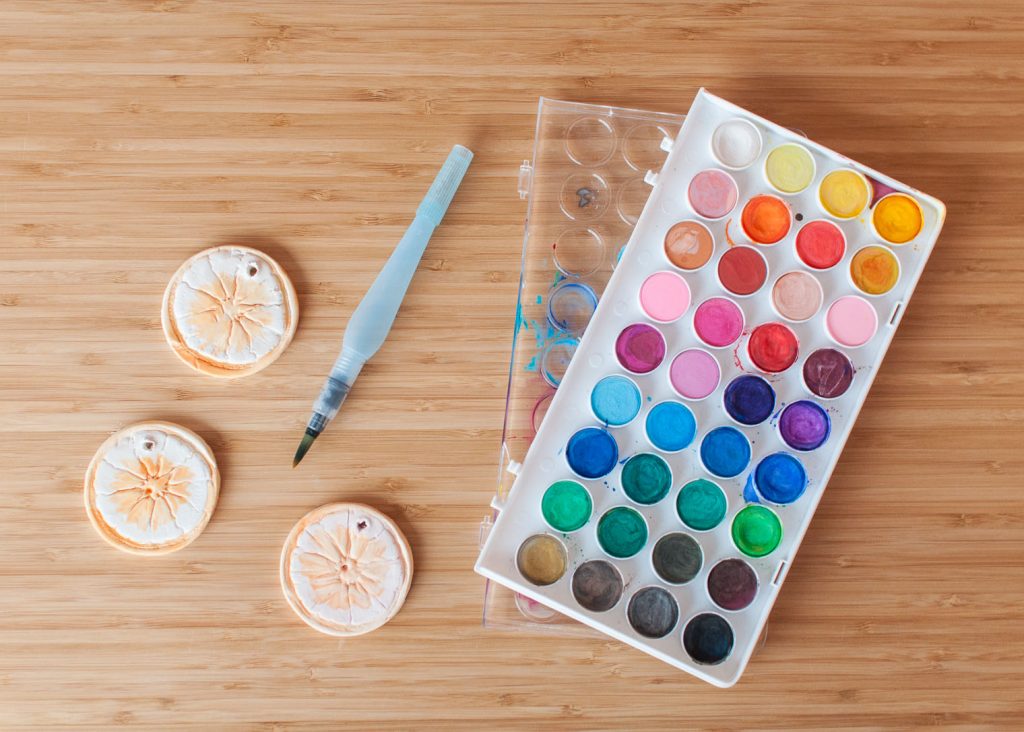
Once the ornaments have dried, get out your watercolors and begin painting them. I painted a darker circle around the outside of the orange slice, and then watered the paint down to do a few streaks in the middle.
Next, string up your ornaments. I made larger loops because our tree branches are pretty thick.
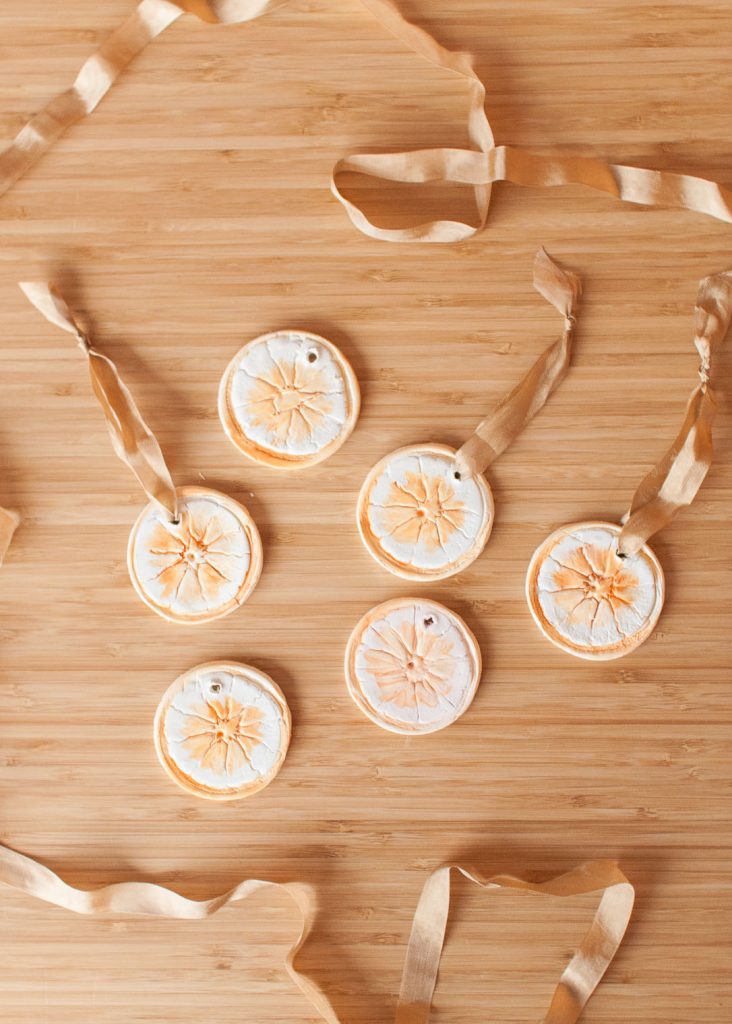
That’s it! These are really quick and easy to make. If you’re interested in DIY ornaments, be sure to check out some of the other ornament tutorials on my blog. And if you decide to make these, please comment below and let me know how it went!
