Welcome to the sixth day of Blogmas with Sara Laughed, where I’m blogging every day ’til Christmas Day. Head over to my Blogmas calendar to see the full collection, or click on the gift tag below!
Confession: my family Christmas tree has always been a little eclectic. For years, my parents let my little brother and me pick out an ornament every year, which is how we ended up with a basketball-playing bear and more than one glittery snowman. Our ornaments have never matched, but it’s that homegrown element that I love about our tree. When Ken and I were planning our Christmas tree this year, I wanted to have a touch of the same.
That’s why a lot of our ornaments this year are homemade. I already showed you all how to make cinnamon apple ornaments, and today I’m showing another deliciously-scented DIY ornament you can make: dried citrus slices.

These slices smell lovely and they look almost like little stained glass ornaments in the tree. I’ve seen a ton of different instructions for these floating around online, so I thought I’d do some experimenting to see what worked and what didn’t. Here are a few things that I don’t recommend:
- Don’t put the slices on a lined tray — they’ll get sticky on one side. Use a baking rack instead.
- Don’t add sugar, cinnamon, or vanilla to your slices — they won’t bake dry and then your boyfriend will try to eat them.
- Don’t eat them. (Lookin’ at you, Ken.)

I was curious about which fruits would work well for this. I can recommend oranges, grapefruits, and lemons, but I wouldn’t do limes because they tend to lose their color and just look brown.
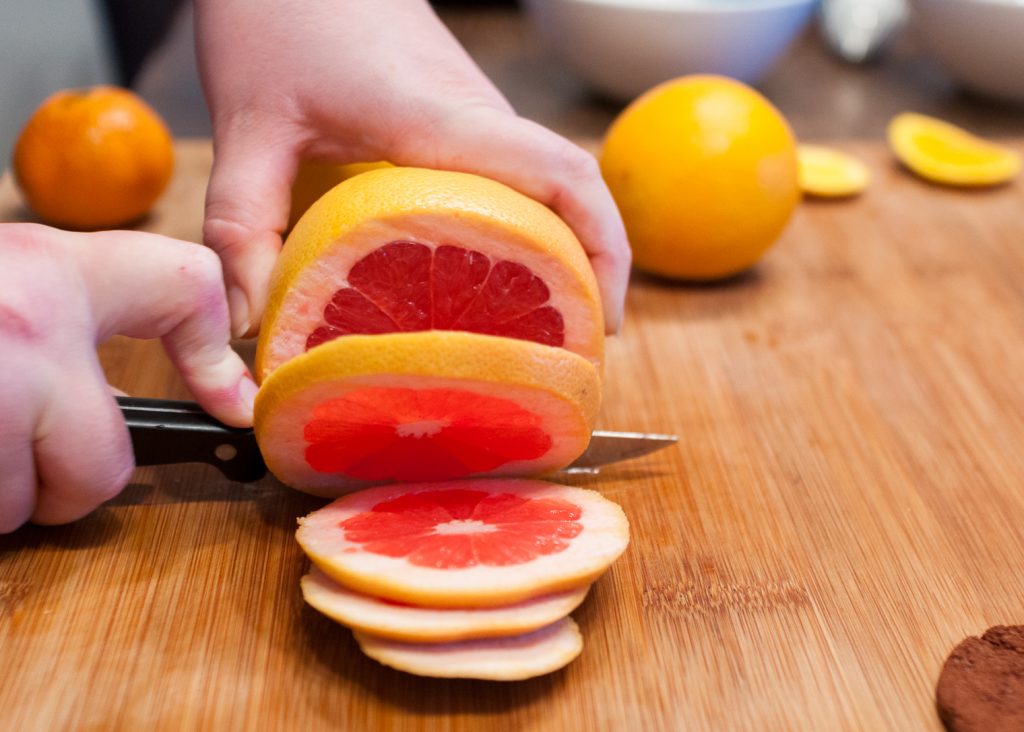
Preheat your oven to be 170° F. Gather your citrus fruits and cut slices of the fruits to be uniform — about 0.5 centimeters each. Remove any seeds from your slices.

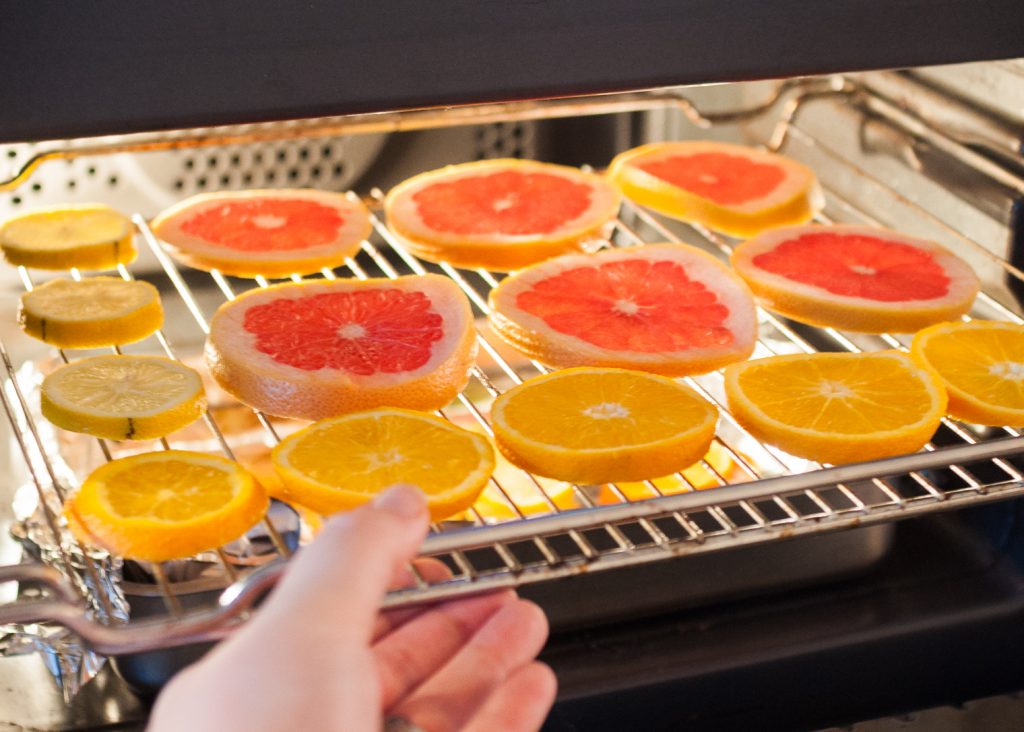
Place the slices on a baking rack and put them in the oven.

Bake for 3-4 hours, turning every hour to make sure that they bake evenly. You want the slices to be a little colorful, but also be dry so that they can’t go bad.
(PS: you can see some of the sugared slices I tried in the picture below! Again, I don’t recommend this. You can see why!)

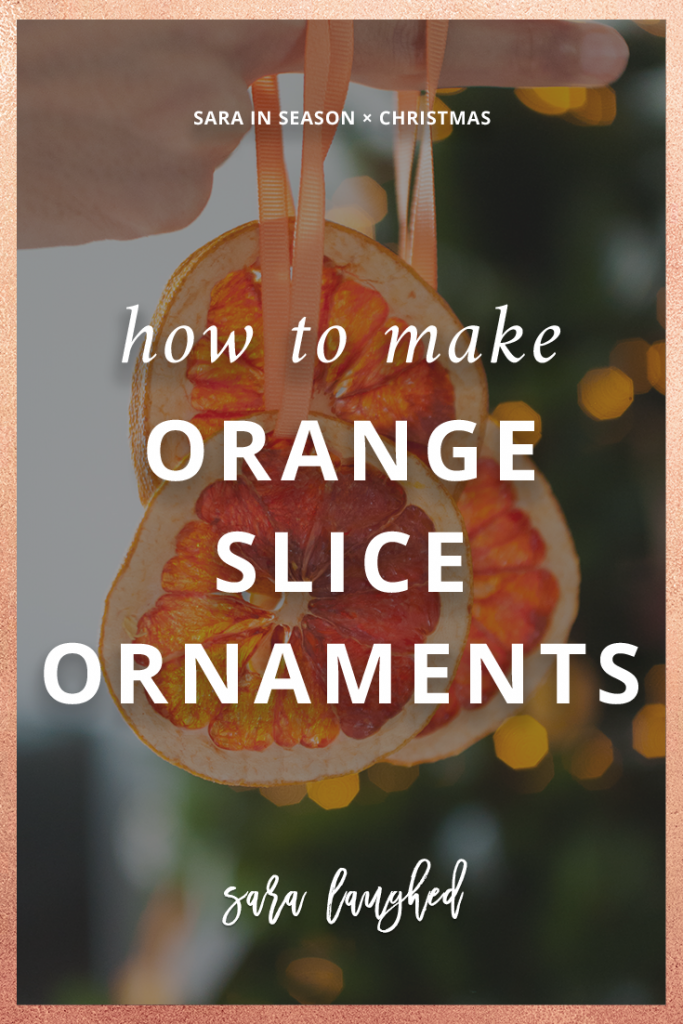
Using a paring knife, cut a small hole in each of your slices and string a generous piece of ribbon through it to make it into an ornament!

That’s it! Making these ornaments is so easy and (with some parental guidance) could also be a great activity with older kids. What do you think of these ornaments? Let me know in the comments below!


Love this idea! Are these a “one season” only? Or will they rot/get moldy in storage?
Hey Kelly! Yes, they only last one season. But they’re worth it, in my eyes! (: