

I fell in love with easy DIY bracelets two years ago, when I was working at a sleep-away summer camp. The counselors and campers traded handmade DIY bracelets like candy, and I quickly built a sizable stack on my arm. But while the plastic beads and letters were cute at camp, they didn’t work quite as well in the real world. So, I retired my collection in the fall. Since that summer, I’ve picked up some tricks on how to make bracelets at home that you’ll want to wear all year round. Best of all, they’re super easy to make — if you’re a new crafter, these easy DIY bracelets are still totally doable for you!
Let’s jump into the first tutorial!
Gold Tube Wrap DIY Bracelets

This bracelet is so simple to make. All you need is a length of cord, 4 beads with a hole large enough to fit the cord, and a handful of curved tubes. I purchased gold jewelry tube beads as a pack for 1€, but you can also find them on Amazon.
First, cut the cord into two pieces. One should be long enough to wrap around your wrist a few times. The other should be at least 6 inches long. We’ll use the second piece to make the bracelet slider later.
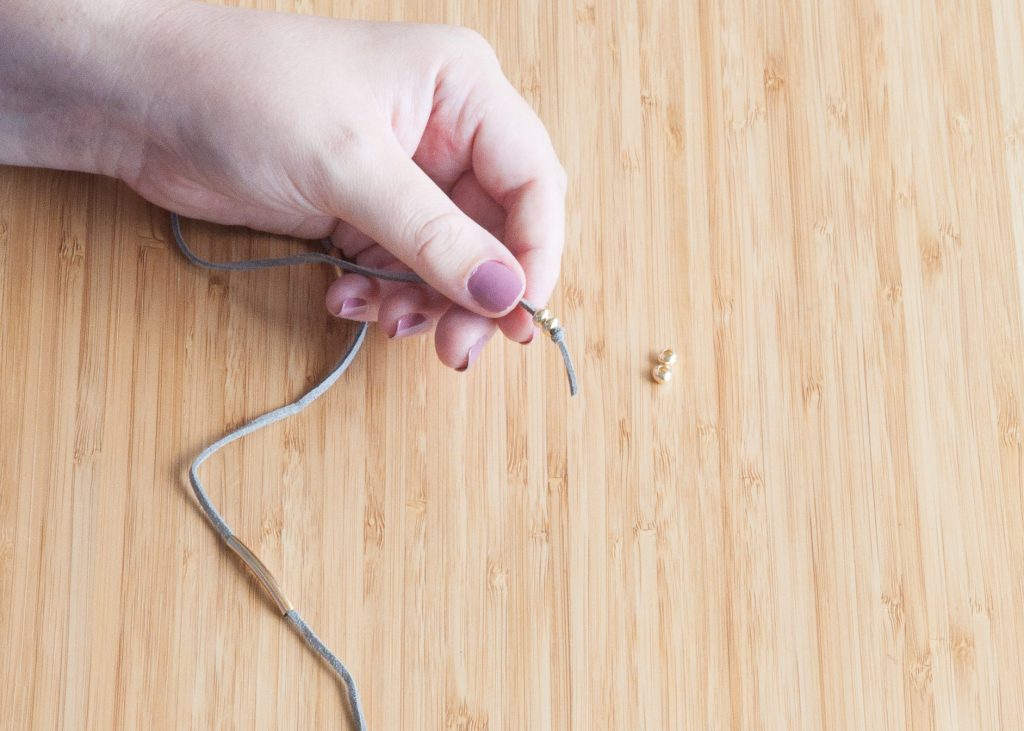
Thread each of the gold tubes onto the cord.
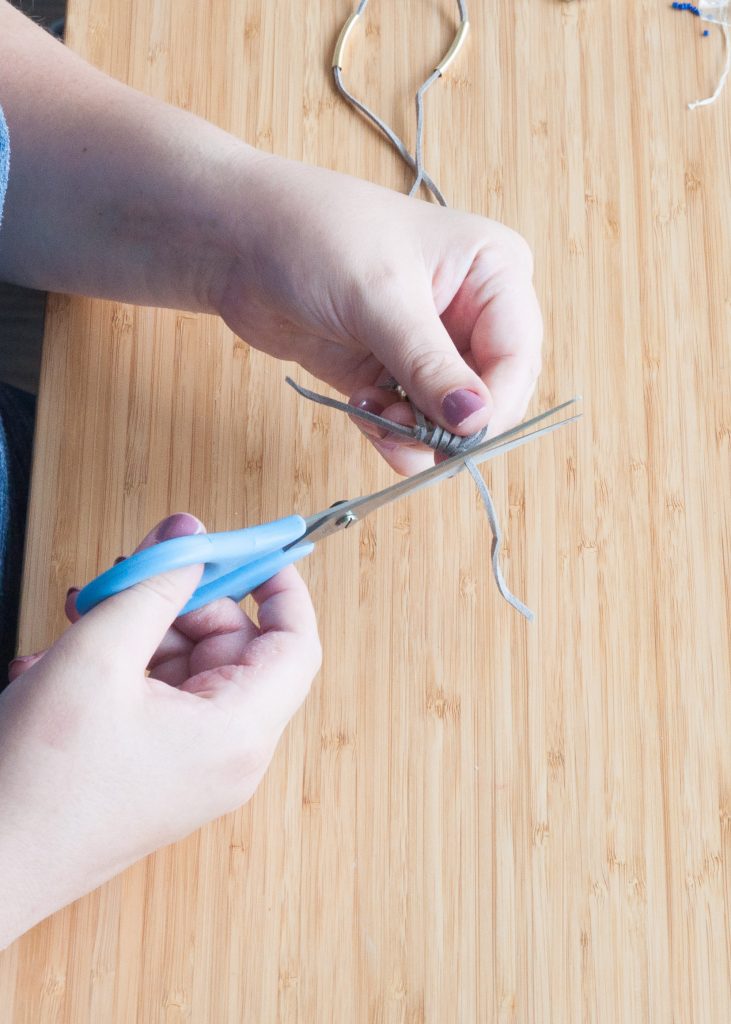
When you’re done, add two of the small beads to the end of the cord, and tie a knot at the end to prevent beads from falling off. Cut off any excess string, and repeat on the other side.
Each of these bracelets uses a slider knot to close. If you want to learn how to make bracelets at home, this is a great skill to know. It’s a very easy technique to pick up, but it’s difficult to explain in writing. The easiest way to learn is through video. This video is quick and simple, and will show you how to create a slider knot using some excess cord.
That’s it! Wrap your bracelet around your wrist a few times, and tighten by pulling on the beaded ends.
Pink Resizable Easy DIY Bracelets
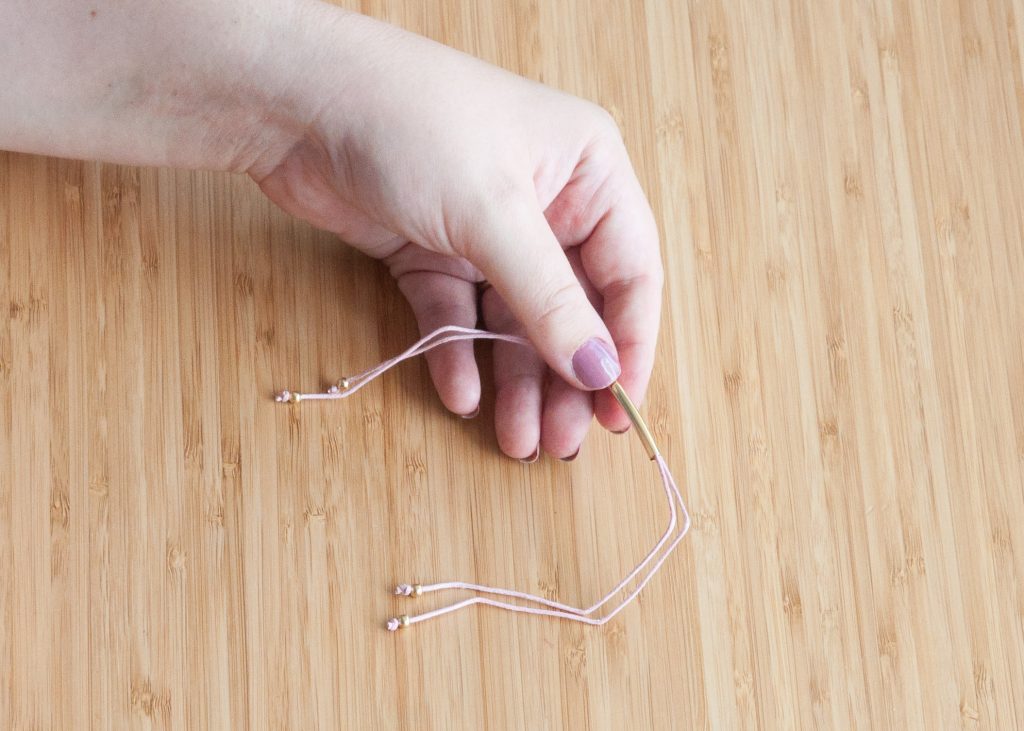
Now that you’ve got the basic sliding knot down, the next two bracelets should be a breeze. For this one, all you need is two and a half feet of pink cord, one curved jewelry tube, and two small beads.
Cut three pieces of cord: two 12-inch pieces, and one 6-inch piece. Next, thread the two 12-inch pieces through the tube.
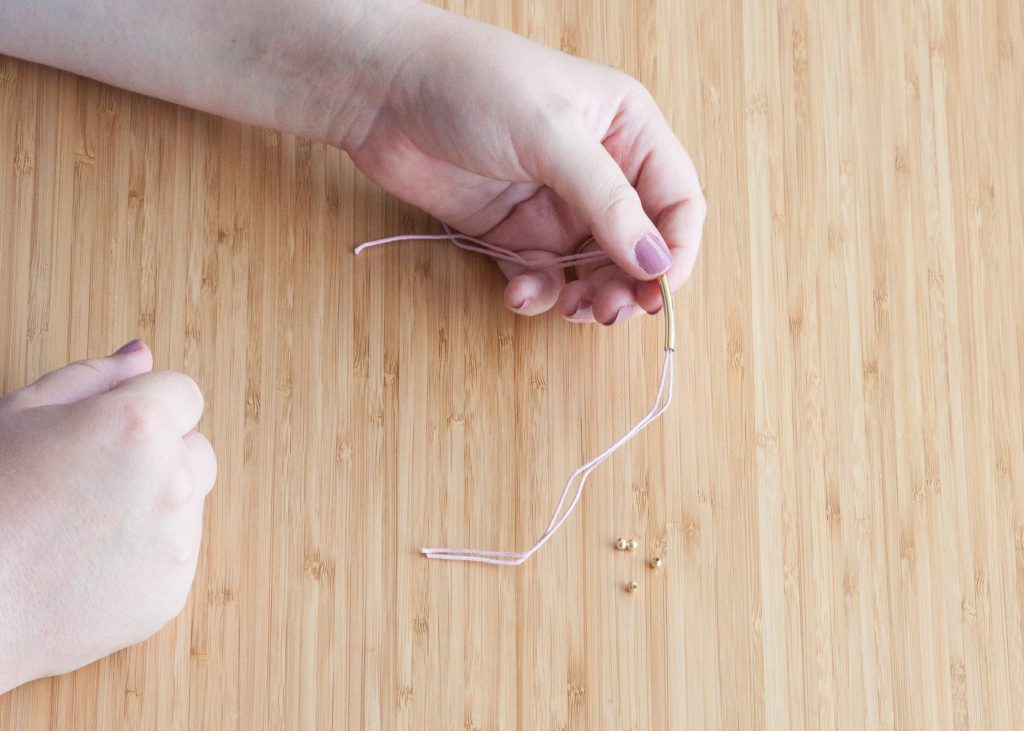
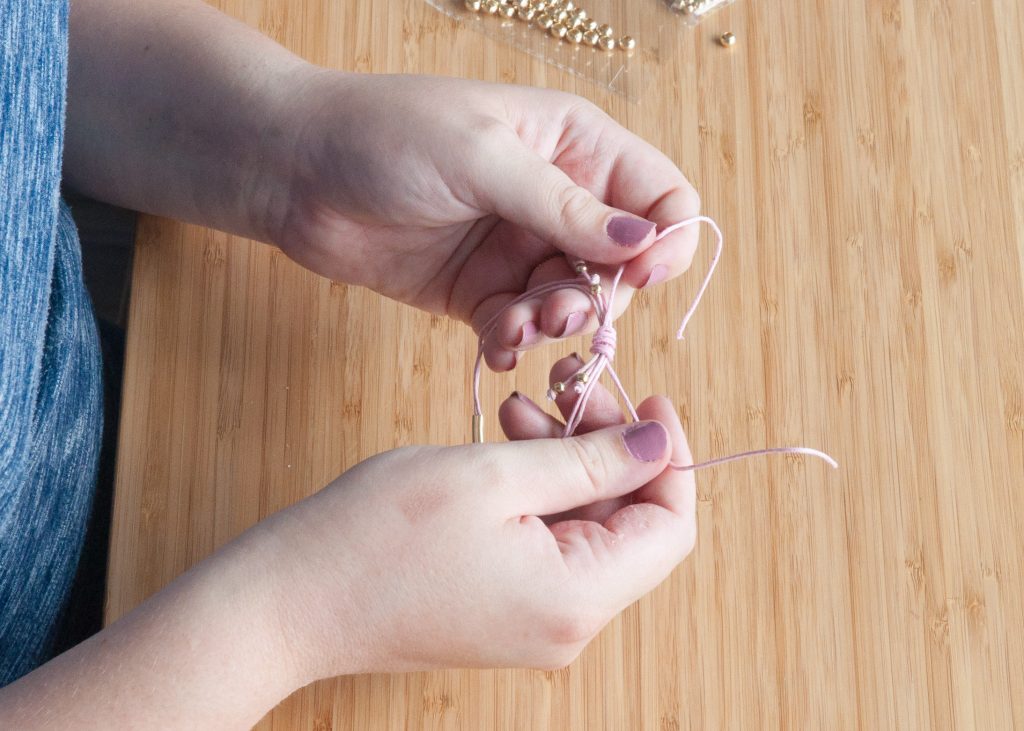
Next you’ll bead and knot the ends. On each of the four ends, string one of the little gold beads and tie a knot afterwards. Cut off any excess.
Now it’s time for the sliding knot. Again, if you want to learn how to make bracelets at home, this is a great trick to know. It lets you make resizable bracelets, rather than ones that have to stay on until you cut them off. Again, here’s the video on how to make a sliding knot.
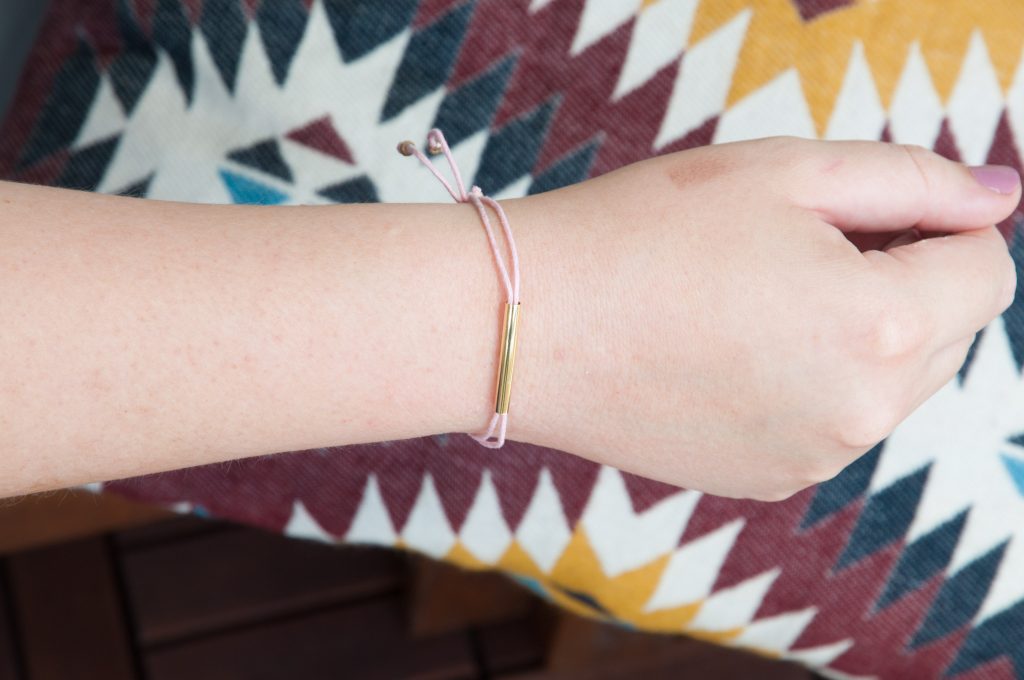
And that’s it! Your easy DIY bracelet is complete.
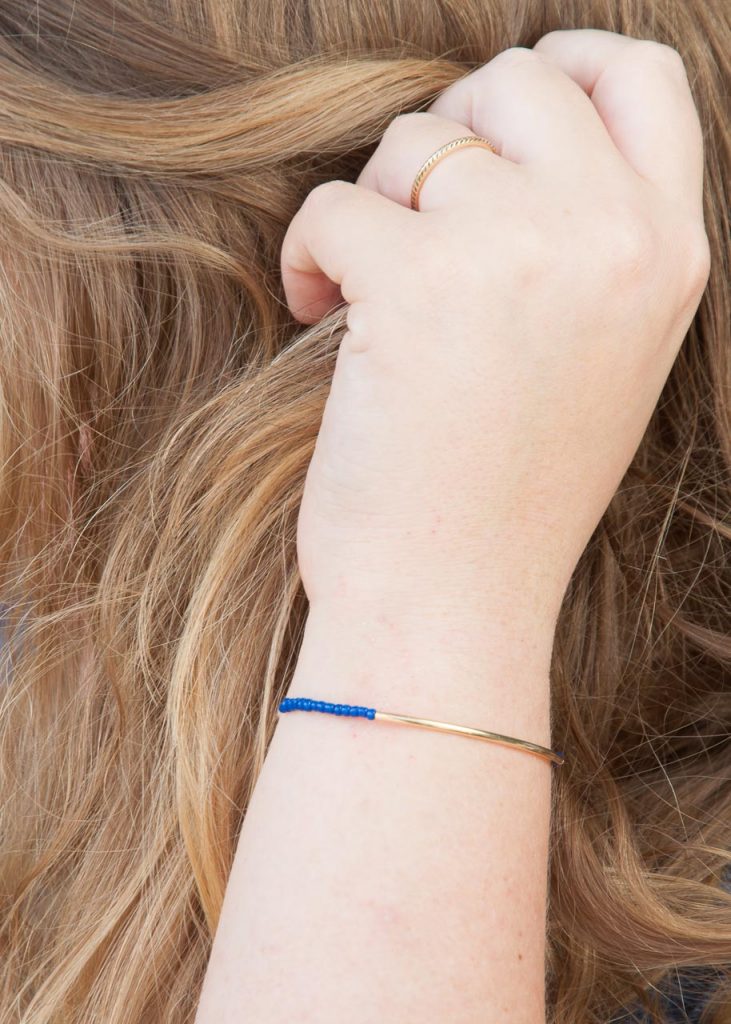
Minimalist Beaded Easy DIY Bracelets
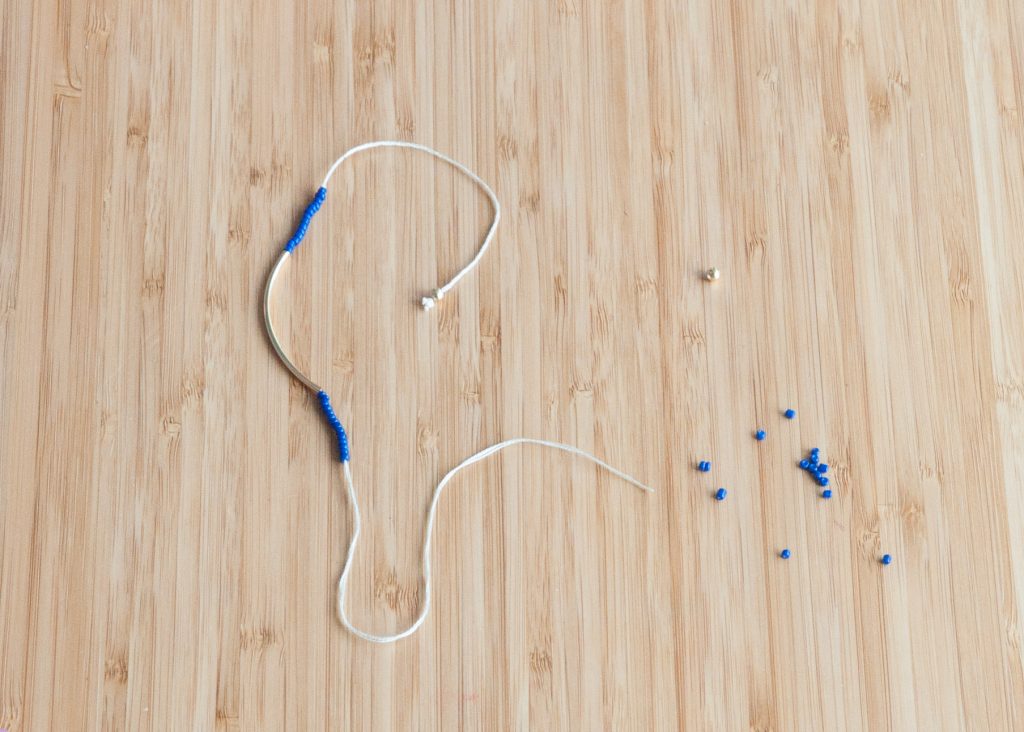
Our last bracelet is just as simple as the first two. Start with embroidery thread, some small colored beads, four small gold beads, and a thin gold tube bead. Cut a length of embroidery floss that is about two times the length of your wrist.
Tie a knot at the end of the thread and add one of the gold beads. Tie a knot at the other end of the bead. This way, it won’t go anywhere! Depending on the size of the bead hole, you may need to double-knot on either side.
Next, about four inches up from where you tied the last knot, tie a knot again. Begin beading. In my example, I beaded 14 blue beads, one gold tube, and 14 blue beads again. After you finish your design, tie another knot. Next, string a gold bead and tie a knot on either side like at the end of the string, like you did in the previous step.
Finally, tie a sliding knot like in this video tutorial. You can choose to cut the ends short, or to bead them like you did with the bracelet ends. I decided to bead mine.
That’s it! Your easy DIY bracelet is done.
Learning How to Make Bracelets At Home
These three easy beaded bracelets are meant to be a fun, simple, and classic alternative to the funky bracelets we all loved at summer camp. Learning the sliding knot technique is just one step in making your own jewelry, and there are plenty more resources online for next steps.
If you like making wearable crafts, consider checking out my flower crown tutorial. And, if self care is more your style, consider trying these DIY body scrubs and lotions, perfect for the winter months. Thanks for reading, and if you have requests for more tutorials, please comment with them below!


These are super cool! I’m not really that crafty, but I could probably pull this off! Thanks for the step by step instructions!! Really cute!!
These are so pretty! You have me inspired!
I love these bracelets! I haven’t ever thought about making my own but this is the perfect DIY project 🙂
-xo, Azanique | http://www.lotsofsass.com
They look so nice! I’ll give this a go 🙂
These are so cute! I love simple, elegant jewelry
This DIY Bracelets seems to be super easy to make thanks to this post. This tutorial is so helpful for me because I wear a lot of bracelets and i will follow the steps in order to make one! Nice job!
These are fantastic! I love making my own jewelry but am pretty terrible unless I have someone showing me how. I’m probably going to subscribe to your blog because I love DIY stuff!
i loved making bracelets like this when i was a kid and this is def something i would love to wear again as an adult. they seem so easy to make and you can make them for everyone!
I love these! Lately I am loving the minimalist look!
These are so cute! Very easy to make too!
These are so chic and cute! I took jewelry making class for two semesters in high school- I haven’t done much since. But these look so easy too! 🙂
xoxo A
http://www.southernbelleintraining.com
Oh my gosh so cute! I feel like they sell these at like Madewell for SO much money – I love that you are teaching everyone how to make them! They are so cute! I love the gray and blue accents btw. XO, Becky // http://www.thetypicaltwentysomething.
Love how simple they are!
Love these, especially that grey tube wrap bracelet!
Those are so cute, and I love how simple they are to make! Great idea!
I love minimalist jewelry and your bracelets look so charming. Feel, they would gel great with traditional Indian outfits. Thanks for the tutorial. Would give them a try. 🙂
These are gorgeous! I love the gold tubes and you’re right–I would totally wear this!
You were right: I fell in love with these minimalistic bracelets!
I love the pink and the wrap one – so simple yet chic!
Ahhh this brings me back to summer camp also! We made like every woven friendship bracelet known to man haha. Love these designs!